There is nothing quite like waking up to the aroma of a golden-brown Fluffy Pancake Recipe sizzling on a buttered griddle. This recipe transforms humble pantry staples into a towering, sky-high stack of seven thick buttermilk pancakes that look like they stepped right out of a high-end food photography shoot.
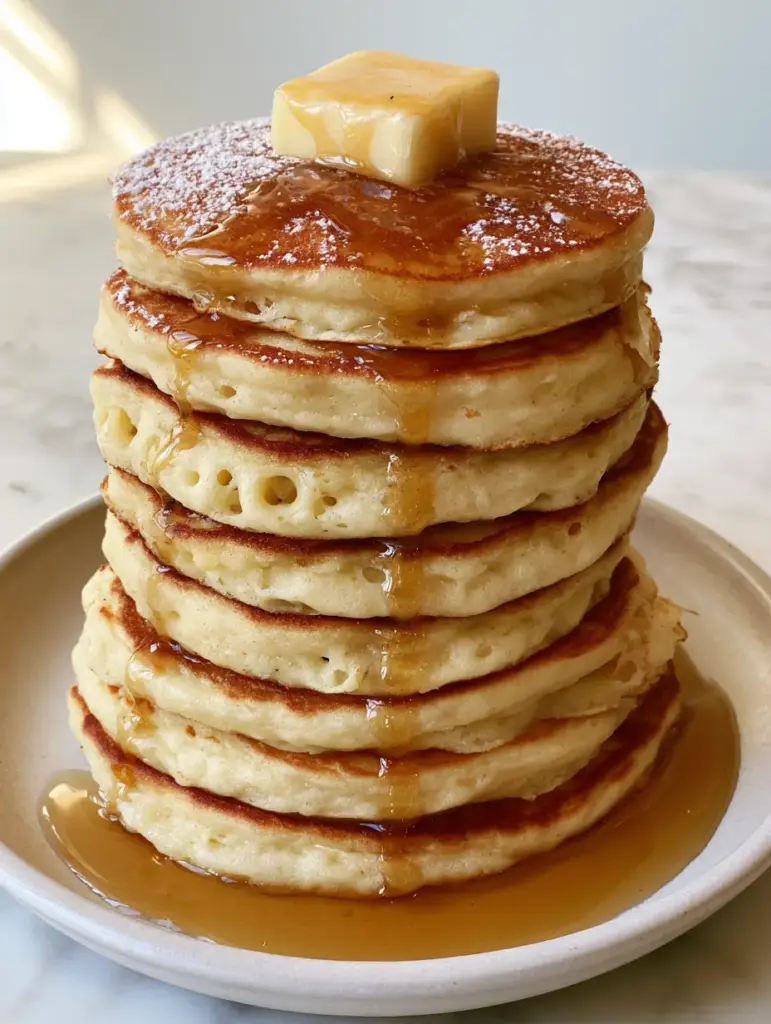
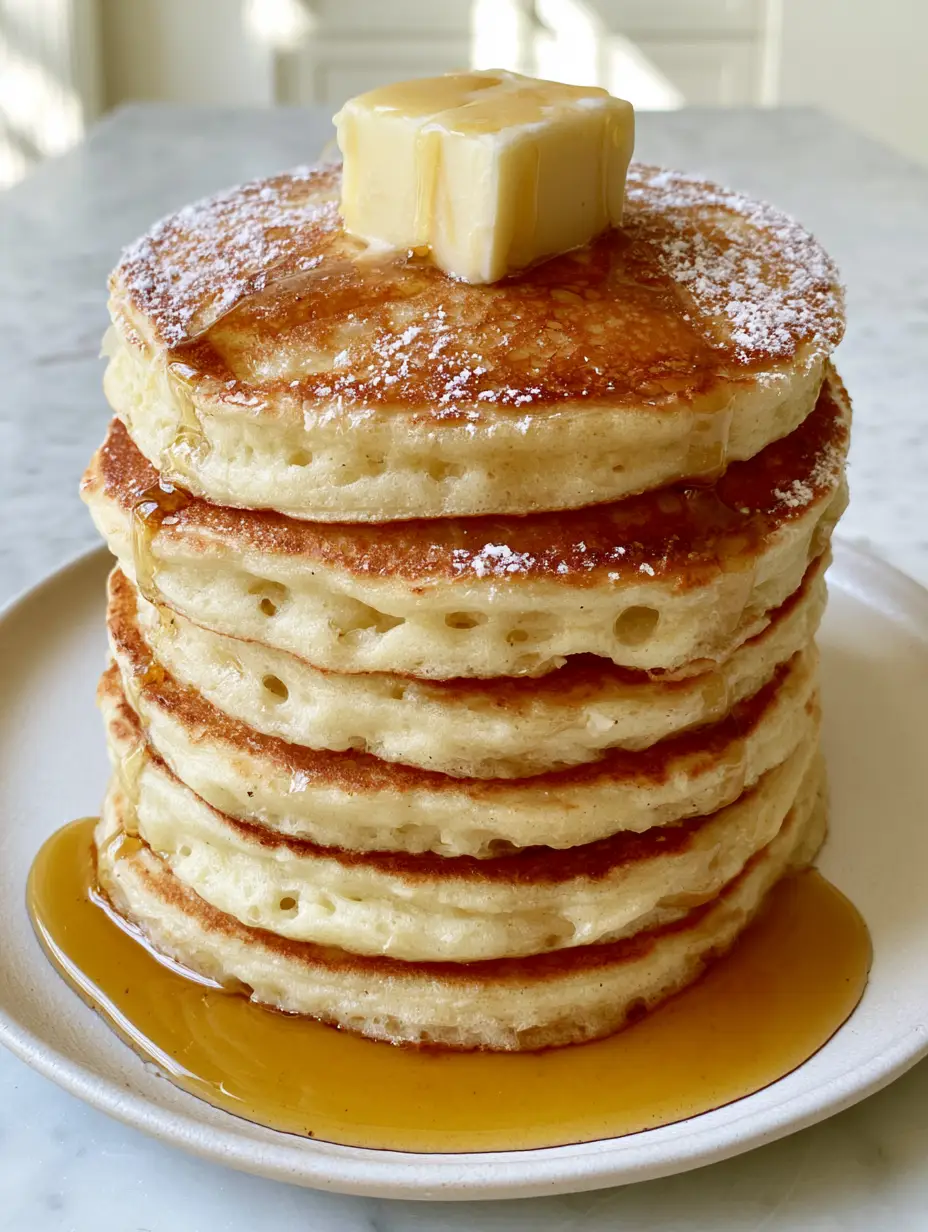
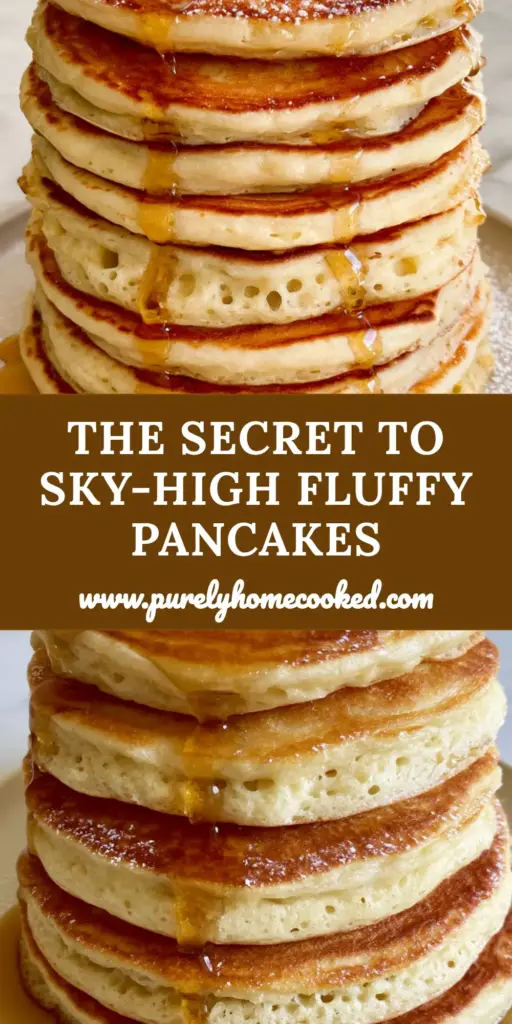
Imagine a matte white artisanal plate centered with a magnificent stack, each pancake boasting exceptionally thick, porous, and aerated sides. The warm morning sunlight catches the viscous, translucent amber maple syrup as it cascades over a melting square of salted butter, pooling at the base in a sugary embrace.
Achieving this visual and culinary perfection requires more than just luck; it requires a deep understanding of leavening science and heat management. By following this guide, you will master the art of the pale, soft interior and the perfectly seared, golden-brown top that defines the ultimate breakfast luxury.
Why This Buttermilk Stack Redefines Breakfast
- Sky-High Aeration: We utilize a specific ratio of leavening agents to create those iconic porous bubbles visible along the sides of every pancake.
- Textural Contrast: The combination of a high-heat sear and a gentle batter fold ensures a crisp golden exterior with a cloud-like, soft crumb inside.
- Visual Elegance: This recipe is designed to yield exactly seven uniform, thick pancakes, perfect for a professional-grade presentation.
- Balanced Flavor: The tang of buttermilk is perfectly offset by a generous pat of melting salted butter and a delicate dusting of powdered sugar.
Essential Components for Aerated Excellence
All-Purpose Flour: 2 cups (250g) of flour provides the structural foundation for our towering stack without making the pancakes tough. It is the canvas upon which we build our aerated masterpiece.
Buttermilk: 1 ½ cups (360ml) of thick buttermilk is essential for the chemical reaction with baking soda, producing the carbon dioxide bubbles that create those porous sides. If you are craving variety, these pancakes pair beautifully with a refreshing morning frappe.
Baking Powder & Baking Soda: 2 tsp (10g) of baking powder and ½ tsp (3g) of baking soda work in tandem to provide immediate and sustained lift during the cooking process. This dual-leavening approach is the secret to the “sky-high” visual.
Granulated Sugar: 2 tbsp (25g) of sugar assists in the Maillard reaction, ensuring that beautiful golden-brown seared top we see in the visual blueprint. It also provides a subtle sweetness to balance the salt.
Melted Salted Butter: 3 tbsp (45g) of melted butter in the batter adds richness and fat, which inhibits excessive gluten development for a tender bite. You will also need extra for the large square garnish on top.
Large Eggs: 2 large eggs act as the binder, providing the protein structure necessary to hold those large air bubbles in place as the pancakes rise. For a full spread, consider serving these alongside savory breakfast burritos.
Fine Sea Salt: ½ tsp (3g) of salt is the “invisible” ingredient that enhances the sweetness of the maple syrup and the richness of the butter. Never skip the salt in a sweet batter.
Tools for the Perfect Golden Sear
To achieve the macro-detail quality of a professional kitchen, you need the right gear. A heavy-bottomed non-stick skillet or a cast-iron griddle is vital for even heat distribution, preventing hot spots that cause uneven browning.
A wide, thin silicone spatula is your best friend for flipping these exceptionally thick pancakes without deflating their airy structure. Finally, a fine-mesh sieve is required to achieve that very fine, delicate dusting of powdered sugar that finishes the dish.
Crafting the Thickest Buttermilk Batter
Step 1: The Sifting Ritual
In a large mixing bowl, whisk together the 2 cups (250g) flour, sugar, baking powder, baking soda, and salt. Sifting or vigorous whisking aerates the dry ingredients, ensuring no clumps of leavening agent remain to ruin the soft interior.
Step 2: The Emulsion Phase
In a separate medium bowl, whisk the 1 ½ cups (360ml) buttermilk, 2 eggs, and 3 tbsp (45g) melted butter. Ensure your buttermilk is at room temperature to prevent the melted butter from seizing into small clumps.
Step 3: The Gentle Fold
Make a well in the center of the dry ingredients and pour in the wet mixture. Use a spatula to gently fold the ingredients together until just combined; a few lumps are absolutely necessary for that porous, aerated texture.
Mastering the Griddle for Visual Perfection
Step 4: The Sizzling Sear
Heat your skillet over medium-low heat and lightly brush with butter. Use a ½ cup (120ml) measuring cup to scoop the batter, creating a thick, uniform disc. Listen for a gentle sizzle—this indicates the sear is beginning.
Step 5: Monitoring the Bubbles
Wait until you see large, airy bubbles forming on the surface and the edges look set and matte. This is the sensory cue that the pale interior is cooking through and the bottom has reached a warm golden-brown.
Step 6: The Delicate Flip
Slide your spatula underneath and flip in one confident motion. Cook for another 1-2 minutes until the pancake has risen to its full height and both sides are seared to perfection.
The Art of the Seven-Stack Presentation
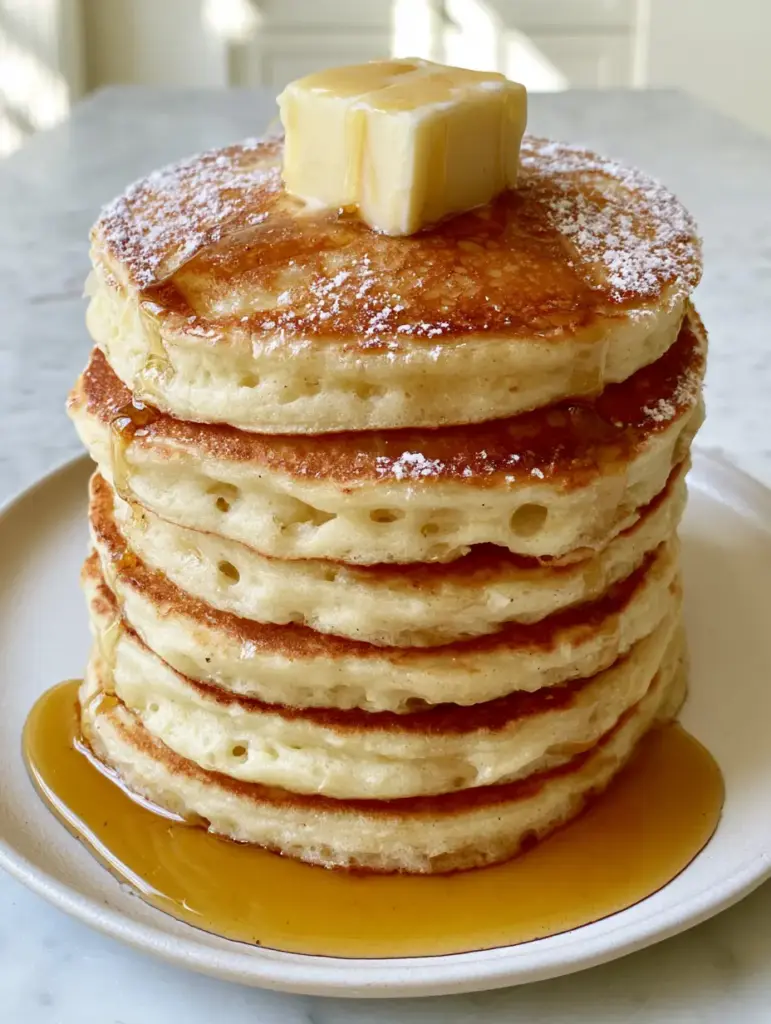
To replicate the visual blueprint, stack exactly seven pancakes in the center of a matte white plate. Place a large, thick square of high-quality salted butter on the very top while the pancakes are steaming hot.
Drizzle the viscous amber maple syrup generously, allowing it to catch the light as it drips down the porous sides. Finish by tapping a sieve filled with powdered sugar over the stack for a delicate, snowy dusting. If you want a fruitier finish, a dollop of homemade blackberry jam is an exquisite addition.
Expert Tips for Success
- Don’t Overmix: Overmixing develops gluten, which will turn your “sky-high” stack into rubbery discs. Stop as soon as the flour streaks disappear.
- The Buttermilk Rest: Let the batter sit for 5-10 minutes before cooking. This allows the flour to hydrate and the leavening agents to activate.
- Wipe the Pan: Between batches, wipe the skillet clean and apply fresh butter to ensure every pancake has a clean, golden-brown sear without burnt bits.
- Control the Heat: If the tops are browning too fast before the bubbles form, your heat is too high. Lower it to maintain that soft, pale interior.
Storage, Reheating & Freezing
These pancakes are best enjoyed immediately, but you can store leftovers in an airtight container in the refrigerator for up to 3 days. To maintain the aerated texture, reheat them in a toaster or a 350°F (175°C) oven until warmed through.
For long-term storage, flash-freeze the pancakes on a baking sheet before transferring them to a freezer bag. They will stay fresh for up to 2 months and can be popped straight into the toaster for a quick weekday luxury.
What to Pair With Your Fluffy Stack
While these pancakes are a meal in themselves, they play well with other breakfast classics. Pair them with a spicy skillet of shakshuka for a sweet-and-savory brunch experience. For those who prefer a more traditional side, crispy bacon or a light cucumber onion salad can provide a refreshing contrast to the rich syrup and butter.
Frequently Asked Questions
For the specific height and texture of this Fluffy Pancake Recipe, buttermilk is required because its acid reacts with the baking soda. If you don’t have it, add 1 tablespoon of lemon juice to 1.5 cups of milk and let it sit for 5 minutes.
Use medium-low heat and a small amount of butter on a heavy-bottomed skillet. The sugar in the recipe assists in the Maillard reaction, but only if the temperature is consistent and the pan is not overcrowded.
The secret lies in using a high ratio of leavening agents (baking powder and soda) and thick buttermilk. Most importantly, do not overmix the batter; leaving lumps ensures air stays trapped, creating those porous, aerated sides.
Your baking powder may be expired, or you may be overmixing the batter, which develops gluten and lets the air bubbles escape. Also, ensure your skillet isn’t too hot, which can cause the pancakes to set before they have a chance to rise.
The Ultimate Fluffy Pancake Recipe
Fluffy Pancake Recipe: The Ultimate Guide to Sky-High Buttermilk Stacks
Ingredients
Equipment
Method
- In a large bowl, combine flour, sugar, baking powder, baking soda, and salt. Whisk thoroughly to aerate.
- In a separate bowl, whisk buttermilk, eggs, and 3 tbsp melted butter until smooth.
- Fold wet ingredients into dry using a spatula. Stop when just combined; lumps are okay.
- Heat skillet over medium-low. Scoop 1/2 cup batter onto the pan.
- Cook until large bubbles form and sides look porous (about 2-3 mins). Ensure a golden-brown sear.
- Flip carefully and cook for 1-2 minutes more until the interior is soft and the pancake is thick.
- Stack 7 pancakes. Top with a square of butter, a heavy drizzle of maple syrup, and powdered sugar.
Notes
Use a measuring cup for uniform, thick pancake sizes.
Bring the Diner Home
Mastering this Fluffy Pancake Recipe is a rite of passage for every home cook. The combination of thick buttermilk, precise leavening, and a perfect sear creates a breakfast experience that is as visually stunning as it is delicious. We invite you to share your towering stacks with us!
Did your stack reach sky-high heights? Leave a comment below and let us know your favorite toppings. Don’t forget to follow us on Pinterest for more culinary inspiration and visual recipe blueprints!