There is a specific, undeniable magic in the way a professional barista layers a drink, but with the right Nespresso coffee recipes, that magic is now accessible in your own kitchen. This Iced Caramel Cold Foam Macchiato isn’t just a drink; it is a visual and sensory experience designed to rival the most aesthetic cafe menus. From the dense, golden ribbons of caramel at the base to the pillowy mountain of microfoam on top, every element is engineered for luxury.
Using your Nespresso machine allows for a level of consistency that traditional drip brewers simply cannot match. By pressurized extraction, we achieve a concentrated “crema” that serves as the structural heart of this recipe. Whether you are starting your morning or looking for a mid-afternoon pick-me-up, this specific method ensures a perfectly balanced sip every single time.
In this guide, we will break down the science of density layering and the culinary secrets behind crystal-clear ice. We are moving beyond basic caffeine delivery and into the realm of home barista artistry. Let’s transform your kitchen counter into a high-end coffee bar using these sophisticated Nespresso coffee recipes.
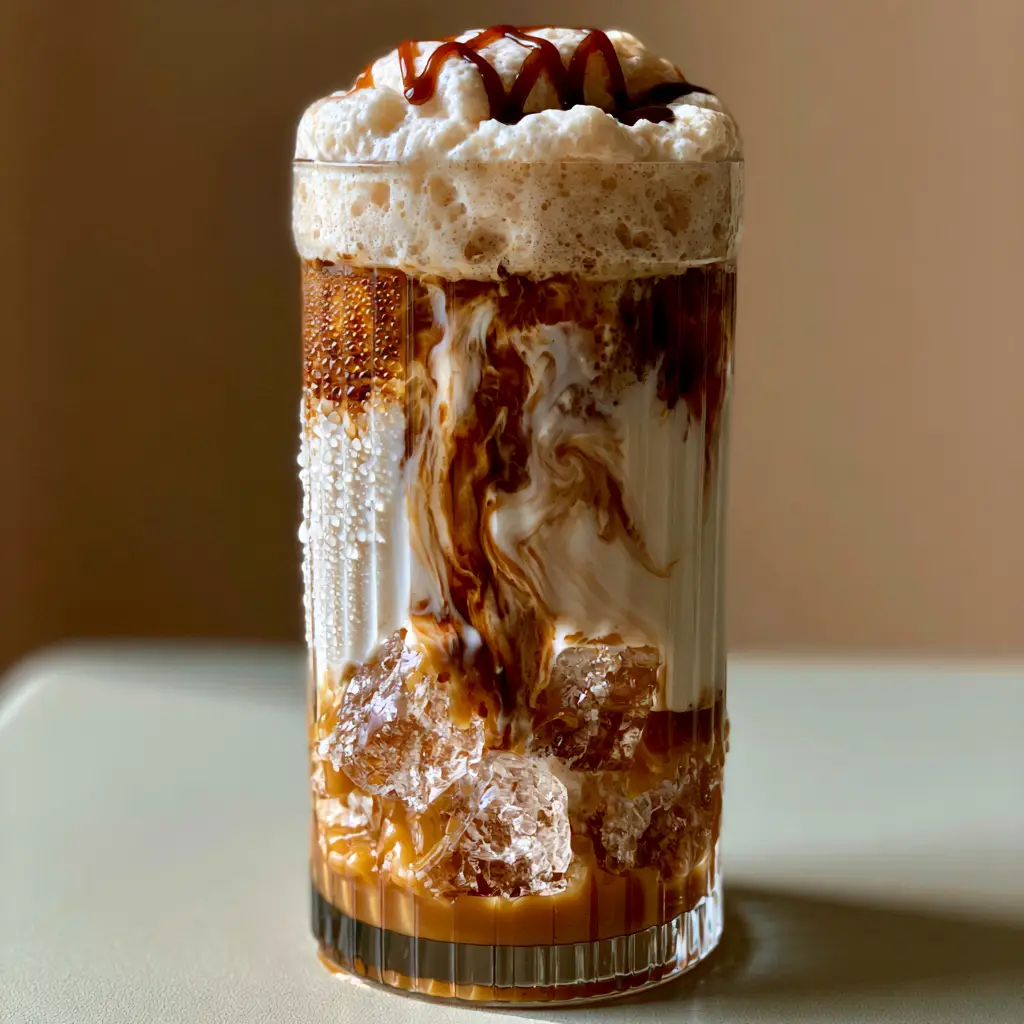
Why This Layered Caramel Masterpiece Works
- Visual Sophistication: The distinct separation between the golden caramel base, the white milk marbling, and the dark espresso creates a stunning “omber” effect.
- Textural Contrast: You will experience three distinct textures: the viscous syrup, the refreshing liquid milk, and the velvety, air-light cold foam.
- Temperature Precision: Using clear ice ensures your drink stays chilled for over 30 minutes without the flavor becoming watered down or muted.
- Balanced Sweetness: By layering the caramel at the bottom and the drizzle on top, the sweetness hits your palate at the beginning and end of every sip.
The Premium Components for Barista-Quality Results
To achieve the look of the Nespresso coffee recipes you see in high-end magazines, the quality of your base ingredients is paramount. Each element plays a functional role in the drink’s structural integrity and flavor profile.
Nespresso Espresso Pods (2 Capsules): You need a double shot (approx. 80ml) of a high-intensity roast like Ispirazione Firenze Arpeggio or Diavolitto. These dark roasts provide the necessary bitterness to cut through the richness of the whole milk and caramel.
Golden Caramel Sauce (2 tbsp / 30ml): Choose a high-viscosity sauce rather than a thin syrup for the base. The weight of the sauce is what keeps it at the bottom of the glass, creating that beautiful “base layer” visible in the visual prompt.
Whole Milk (3/4 cup / 180ml): Whole milk has a higher fat content (approx. 3.5%), which is essential for the “cascading” effect when the espresso is poured. Lower fat milks will mix too quickly, destroying the aesthetic layers.
Heavy Cream (2 tbsp / 30ml): This is the “invisible” secret ingredient for the cold foam. Mixing heavy cream with milk allows the bubbles to remain stable and “pillowy” rather than dissipating into liquid.
Crystal-Clear Ice Cubes (1 cup / 140g): Clear ice is made by directional freezing, which removes air bubbles. This results in ice that looks like glass and melts significantly slower than cloudy freezer-tray ice.
Dark Caramel Drizzle (1 tsp / 5ml): A slightly darker, saltier caramel for the top provides a sharp visual contrast against the white foam. This is used specifically for the zigzag pattern that crowns the drink.
Essential Tools for the Aesthetic Home Cafe
While the Nespresso machine does the heavy lifting, a few specific tools are required to achieve the “ribbed glass” look and the “microfoam” texture described in our visual blueprint.
- Tall Ribbed Glass (12-16oz): The vertical ridges in the glass catch the light and emphasize the condensation droplets, making the drink look incredibly refreshing.
- Handheld Milk Frother or Aeroccino: To achieve a “thick, pillowy layer of microfoam,” you need a tool that can aerate cold milk without heating it.
- Long Stirring Spoon: Essential for tucking the caramel into the bottom corners of the glass without smearing the sides.
- Small Pitcher: Using a pitcher with a precision spout for the espresso pour is key to achieving the “swirling” effect as it hits the milk.
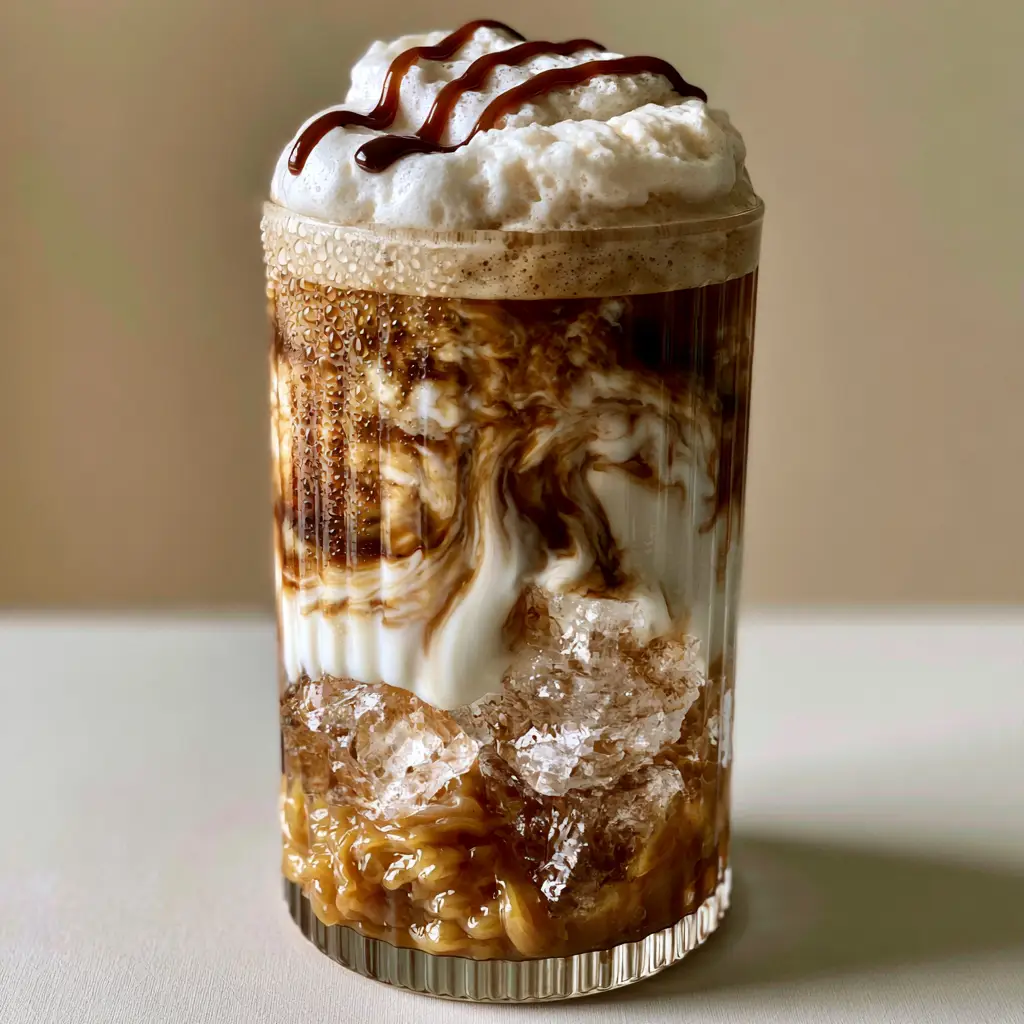
Step-by-Step Architecture of the Perfect Pour
Preparing the High-Viscosity Caramel Base
Start by drizzling exactly 2 tbsp (30ml) of golden caramel sauce into the bottom of your tall ribbed glass. Aim for the center to avoid getting sauce on the upper walls, which can interfere with the “cascading” visuals later. This layer serves as the flavor anchor for the entire drink.
If your caramel is too cold, microwave it for 5 seconds to make it slightly more fluid. It should be thick enough to resist the ice cubes being placed on top, maintaining its distinct golden horizontal line at the very bottom.
Seeding the Glass with Crystal-Clear Ice
Carefully drop your large, crystal-clear ice cubes into the glass one by one. Do not just pour them in; you want to stack them so they provide a structural “ladder” for the milk and coffee to climb. Fill the glass about 3/4 of the way to the top with ice.
The clear ice is functional—it creates more surface area for the milk to cling to as it pours. This is what creates those beautiful white “curtains” of dairy against the glass walls. This drink is a perfect accompaniment to a morning of meal prepping your overnight oats recipes for the week ahead.
The Velvety Milk Cascade
Slowly pour 3/4 cup (180ml) of chilled whole milk over the ice. Because the caramel is dense and the ice is stacked, the milk should sit directly on top of the caramel layer without fully mixing. You are looking for a sharp white-to-gold transition at the base.
Leave about two inches of space at the top of the glass. This headspace is vital for the espresso and the cold foam layers that follow. Much like preparing fluffy pancake recipes, the order of operations and the temperature of ingredients are the keys to a perfect result.
Extracting and Layering the Nespresso Espresso
Brew two capsules of your chosen Nespresso espresso into a separate small pitcher. While the espresso is still hot and the “crema” is active, pour it slowly over the center-most ice cube. The heat of the coffee hitting the cold milk and ice creates a “swirling” motion that looks like marble.
Watch for the sensory cue of the dark coffee slowly bleeding into the white milk. This creates the middle layer of the drink. This rich, caffeinated treat is the perfect sophisticated counterpart to more indulgent stoner snacks or a late-night study session.
Crafting the Pillowy Microfoam Cold Foam
In a small cup, combine 2 tbsp (30ml) of cold milk, 2 tbsp (30ml) of heavy cream, and a splash of vanilla syrup. Use your handheld frother for 30-45 seconds until the mixture doubles in volume. It should have the consistency of melted ice cream or wet paint—no large bubbles allowed.
Gently spoon this foam over the top of the drink. It should sit firmly on top of the coffee, creating a thick, white “cap.” This is the “microfoam” mentioned in our Nespresso coffee recipes blueprint, providing a luxurious mouthfeel with every sip.
The Final Aesthetic Flourish
Take your dark caramel drizzle and create a light zigzag pattern across the surface of the foam. The foam should be stable enough that the syrup stays on the surface for at least several minutes. Notice the condensation droplets forming on the outside of the ribbed glass—this is the sign of a perfectly chilled beverage.
Expert Tips for Nespresso Success
- The “Spoon Pour” Trick: If you find your layers are mixing too quickly, pour the espresso over the back of a spoon held just above the milk surface. This breaks the fall and preserves the layering.
- Temperature Control: Always use a chilled glass. A warm glass will melt the ice instantly, creating a watery base that ruins the caramel’s density.
- Fat Matters: Do not substitute the whole milk for almond or oat milk if you want the exact “cascade” effect shown in the photos. Non-dairy milks have different densities and will behave differently.
- Clean Your Machine: Ensure your Nespresso machine has been descaled recently. A clean machine produces a better crema, which is the “glue” that holds the espresso layer together.
Storage and Make-Ahead Advice
While this drink is best enjoyed immediately to appreciate the temperature contrast, you can prep components in advance. The cold foam can be made and stored in an airtight jar for up to 24 hours, though it may need a 5-second re-froth before serving.
Do not attempt to freeze the assembled drink, as the milk and coffee will separate and the texture of the foam will be destroyed. However, you can freeze espresso into ice cubes to use instead of clear ice if you want an even stronger coffee flavor as the drink melts.
What to Serve with Your Nespresso Creations
This Iced Caramel Macchiato is quite rich, so it pairs beautifully with savory or lightly sweet dishes. For a full brunch spread, consider serving it alongside a cheesy zucchini casserole or a fresh cucumber and onion salad to cleanse the palate between sips.
If you are in the mood for more sweets, this drink pairs excellently with easy dessert recipes like fruit tarts or shortbread cookies. The bitterness of the Nespresso espresso balances out high-sugar treats perfectly.
Frequently Asked Questions
Absolutely! Simply brew one Double Espresso Scuro or Chiaro pod (80ml) instead of two Original line capsules to get the same concentrated coffee base.
Clear ice is achieved through directional freezing. You can use a small insulated cooler inside your freezer (lid off) to force the water to freeze from the top down, pushing air bubbles to the bottom.
The secret is using a 1:1 ratio of whole milk to heavy cream and ensuring both are bone-cold. Froth for at least 30 seconds until no large bubbles remain and the texture resembles wet paint.
For milk-based iced recipes, choose high-intensity pods (intensity 8-11) like Arpeggio, Ristretto, or Diavolitto. These maintain their flavor even when diluted by ice and milk.
This usually happens if the caramel is too thin or the milk is poured too aggressively. Use a thick ‘sauce’ rather than a ‘syrup’ and pour the milk slowly over ice to buffer the movement.
The Ultimate Iced Caramel Cold Foam Nespresso Recipe
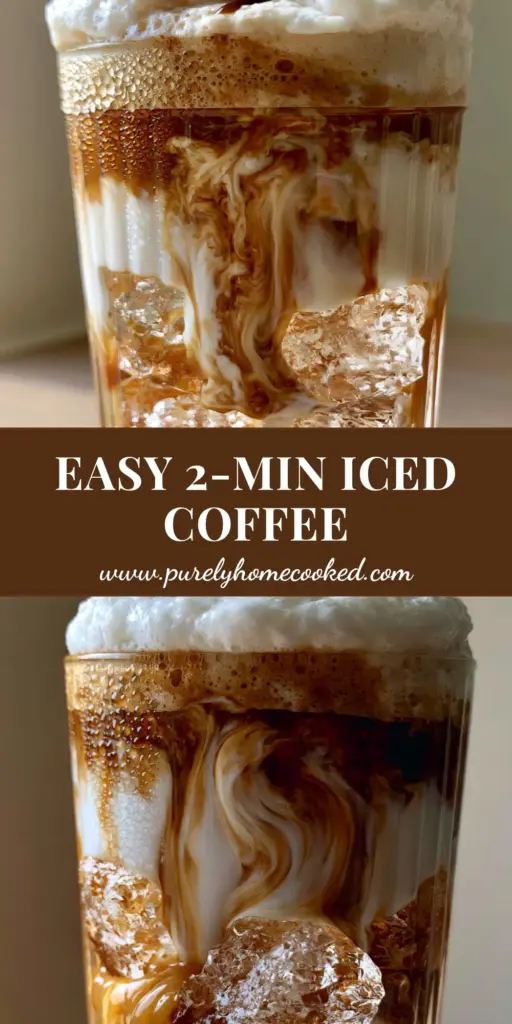
Nespresso Coffee Recipes: The Ultimate Iced Caramel Cold Foam Macchiato
Ingredients
Equipment
Method
- Add 2 tbsp (30ml) of golden caramel sauce to the bottom of the tall ribbed glass.
- Fill the glass 3/4 full with large crystal-clear ice cubes, stacking them carefully.
- Slowly pour 3/4 cup (180ml) of whole milk over the ice, allowing it to settle above the caramel.
- Brew 2 Nespresso espresso capsules and pour them slowly over the center ice cube to create a swirling effect.
- Combine 2 tbsp milk and 2 tbsp heavy cream; froth with a handheld tool until thick and pillowy, then spoon over the coffee.
- Apply a zigzag drizzle of dark caramel syrup over the microfoam top.
Notes
Ensure milk and cream are very cold to achieve the thickest foam.
Conclusion and Professional Barista Tips
Mastering Nespresso coffee recipes is about more than just pressing a button; it’s about understanding the interaction between temperature, density, and texture. This Iced Caramel Cold Foam Macchiato is a testament to how simple ingredients, when treated with culinary precision, can become something extraordinary.
We invite you to experiment with different Nespresso pods to find your perfect flavor profile. Don’t forget to take a photo of your layered creation and share it with us! For more kitchen inspiration and daily recipe updates, be sure to follow us on Pinterest and join our community of home baristas.