There is nothing quite like the sizzle of a seasoned cast iron skillet meeting a perfectly seasoned protein. This Flavorful chicken recipe is designed for those who crave that restaurant-quality crust—a deep, golden-brown caramelization—paired with a shimmering, aromatic garlic butter glaze that pools in the pan. If you have been searching for a way to transform basic poultry into a succulent masterpiece, you have arrived at the ultimate destination.
Our culinary focus today is on texture and “umami” depth. By utilizing a high-heat searing technique, we lock in the natural juices while creating a crisp exterior that holds onto every drop of toasted garlic and cracked black pepper. Whether you are prepping a weeknight meal or looking for the centerpiece of a gourmet dinner, this method delivers every single time.
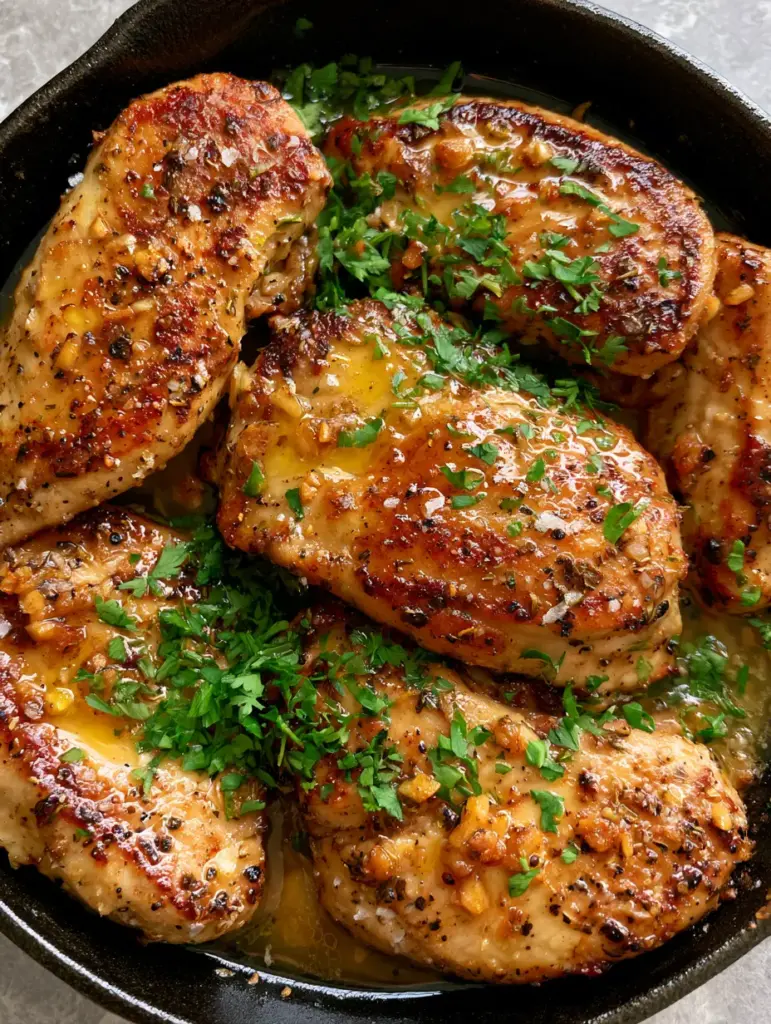
Why This Is the Most Succulent Skillet Chicken You Will Ever Make
- The Maillard Reaction: We achieve a deep golden-brown caramelized crust that provides a complex, savory flavor profile.
- Aromatic Infusion: Every slice is coated in a shimmering garlic butter glaze, featuring bits of toasted minced garlic that offer a nutty crunch.
- Perfectly Balanced Heat: The addition of cracked black pepper and red chili flakes provides a gentle warmth without overpowering the meat.
- Visual Vibrancy: A heavy scatter of freshly chopped flat-leaf parsley adds a burst of forest-green color and a clean, herbaceous finish.
- Cast Iron Magic: Using a seasoned skillet ensures even heat distribution and a unique depth of flavor that stainless steel simply cannot replicate.
The Anatomy of Flavor: Essential Ingredients and Their Roles
To create truly Flavorful chicken, we must look beyond the surface. Each ingredient serves a scientific and sensory purpose to ensure the final dish matches the succulent, glossy results seen in professional kitchens.
Boneless Skinless Chicken Breasts (1.5 lbs / 680g): We use thick-cut breasts, sliced into uniform strips to maximize the surface area for searing while keeping the center incredibly moist.
Unsalted Butter (3 tbsp / 45g): Butter is the vehicle for flavor; it emulsifies with the chicken juices to create that signature shimmering glaze.
Neutral Oil (1 tbsp / 15ml): We use a high-smoke point oil like avocado or grapeseed oil to achieve the initial sear without burning the fats.
Fresh Garlic (4 cloves / 20g): Minced finely, these bits become toasted and golden, providing a texture that is both soft and slightly crunchy.
Flat-Leaf Parsley (1/4 cup / 10g): This isn’t just a garnish; the fresh, peppery notes of chopped parsley cut through the richness of the butter.
Cracked Black Pepper and Sea Salt: Large granules are essential here to create that visible, textured crust described in our visual blueprint.
Red Chili Flakes (1/2 tsp / 1g): These provide “spark” to the dish, breaking up the savory notes with tiny hits of heat.
The Gear You Need for Professional Results
You cannot achieve this specific level of caramelization without the right tools. The star of the show is a 12-inch (30cm) seasoned black cast iron skillet. Its heat retention properties allow the chicken to develop a crust quickly without dropping the temperature of the pan, which would cause the meat to steam rather than sear.
You will also need a sharp chef’s knife for clean cuts of parsley and garlic, and a pair of stainless steel tongs to flip the chicken slices with precision. A meat thermometer is highly recommended to ensure we hit the internal sweet spot of 165°F (74°C) without overcooking.
The Science of the Perfect Sear: Step-by-Step Instructions
Phase 1: Preparation and Seasoning
Pat the chicken slices completely dry with paper towels. This is the most critical step; moisture is the enemy of a golden crust. Season the meat generously on all sides with sea salt and a heavy hand of cracked black pepper.
Phase 2: Achieving the Golden-Brown Crust
Place your cast iron skillet over medium-high heat and add the oil. Wait until you see a faint shimmer or a wisp of smoke. Lay the chicken slices in a single layer, ensuring they do not crowd the pan. Sear undisturbed for 3-4 minutes until a deep golden-brown caramelized crust forms.
Phase 3: The Garlic Butter Glaze
Flip the chicken slices to sear the other side. Drop the butter into the center of the skillet along with the minced garlic and red chili flakes. As the butter melts and foams, use a spoon to continuously baste the chicken with the bubbling garlic butter.
Phase 4: The Herbaceous Finish
Once the chicken reaches an internal temperature of 165°F (74°C), remove the skillet from the heat. The garlic should be toasted and golden, not dark brown. Immediately scatter the fresh flat-leaf parsley over the meat, allowing the residual heat to wake up the oils in the herbs.
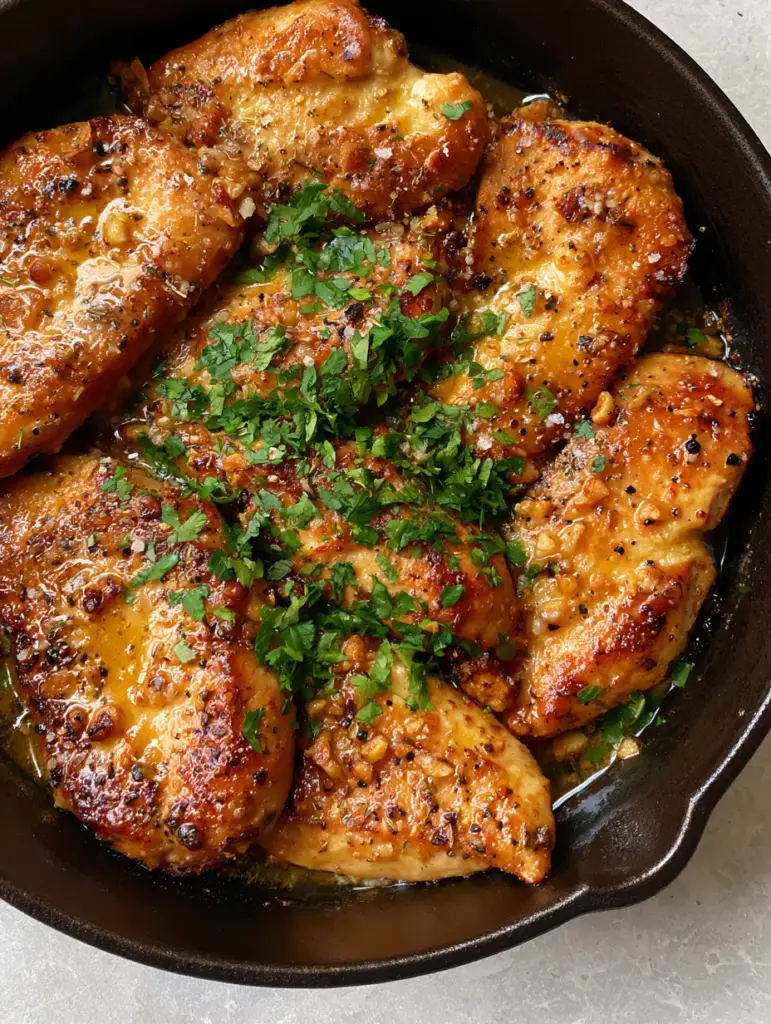
Pro-Level Culinary Tips for Flavorful Chicken
- Room Temperature Meat: Take your chicken out of the fridge 15-20 minutes before cooking to ensure the fibers don’t tighten up and toughen upon hitting the hot pan.
- Don’t Move the Meat: Resist the urge to poke or move the chicken for the first 3 minutes. The meat will “release” from the cast iron naturally once the crust has formed.
- Butter Management: If your butter begins to smoke too aggressively, add a teaspoon of oil to the pan to stabilize the fats and prevent burning the garlic.
- Slicing Technique: Always slice against the grain. This shortens the muscle fibers, resulting in a much more tender bite.
Maximizing Your Meal Prep and Storage
This Flavorful chicken stores beautifully. Place leftovers in an airtight container and refrigerate for up to 4 days. When reheating, avoid the microwave if possible, as it can make the chicken rubbery. Instead, place the slices back into a warm skillet with a splash of water or broth to loosen the butter glaze and gently steam the meat back to temperature.
You can also freeze the cooked chicken for up to 2 months. Thaw overnight in the refrigerator before following the skillet reheating method mentioned above.
Creative Ways to Serve Your Garlic Butter Chicken
The beauty of this dish lies in its versatility. For a comforting meal, serve these succulent slices over a bed of creamy orzo pasta or alongside a vibrant chopped salad for a lighter lunch. The garlic butter juices from the pan are liquid gold—drizzle them over roasted potatoes or use a crusty piece of bread to swipe the skillet clean.
If you enjoy global flavor profiles, you might also love our classic butter chicken or even a zesty lime-infused version for your next taco night.
Answers to Your Most Common Questions
Absolutely. Chicken thighs have more fat and stay even moister, though they may require an extra 2-3 minutes of cooking time to reach the safe internal temperature.
While a heavy stainless steel pan works, cast iron is preferred for its superior heat retention, which is necessary to achieve the specific caramelized texture shown in the recipe.
The secret is timing. Sear the chicken first on high heat to develop the crust, then lower the heat slightly before adding the butter and minced garlic for the final basting phase.
Mince it finely by hand rather than using a press. Hand-minced garlic creates those distinct ‘toasted bits’ that add texture, whereas pressed garlic can turn into a paste and burn more easily.
This usually happens if the pan wasn’t hot enough or if you try to flip the chicken too early. The meat will naturally release once the golden-brown crust has fully formed.
The Ultimate Skillet Flavorful Chicken Recipe
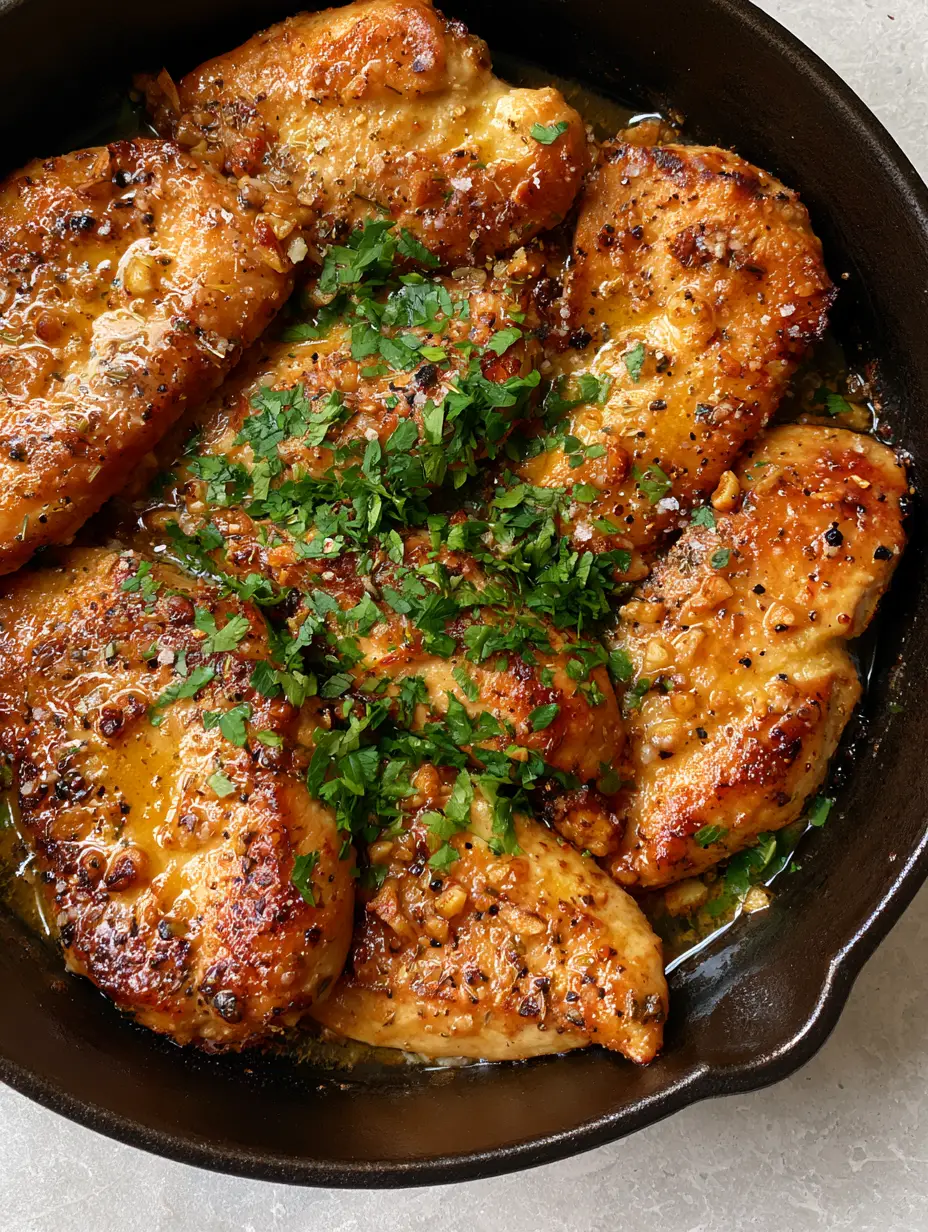
Flavorful Chicken with Garlic Butter and Toasted Herbs
Ingredients
Equipment
Method
- Pat the chicken slices dry with paper towels. Season generously with salt and cracked black pepper on all sides.
- Heat oil in the cast iron skillet over medium-high heat until shimmering.
- Add chicken in a single layer. Sear for 3-4 minutes without moving them until a deep golden-brown crust forms.
- Flip the chicken. Add butter, garlic, and chili flakes to the pan. Spoon the melting butter over the chicken slices continuously.
- Once chicken reaches 165°F, remove from heat and scatter with fresh parsley. Serve immediately with pan juices.
Notes
Use unsalted butter to control the seasoning levels manually.
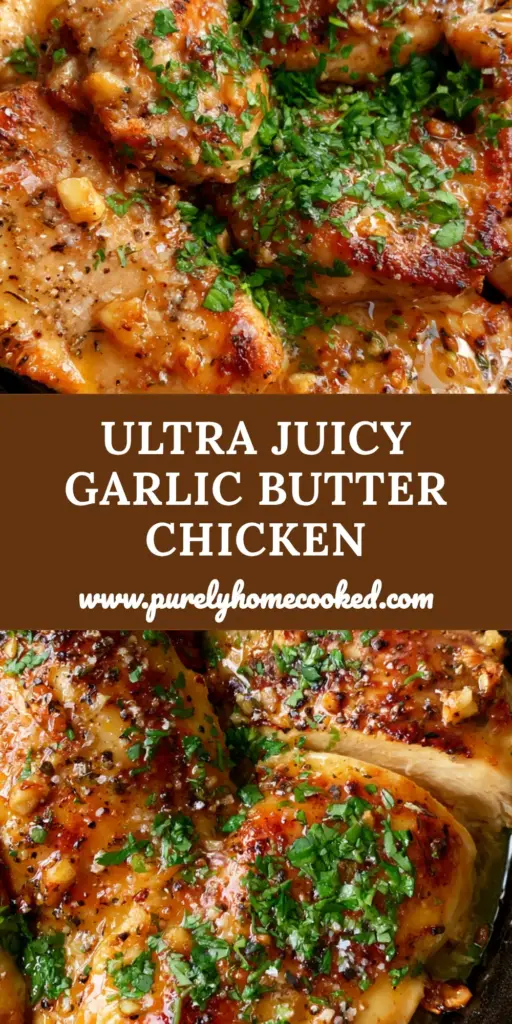
Final Thoughts: Master the Skillet, Master the Flavor
By mastering the art of the cast iron sear and the garlic butter emulsion, you have unlocked a foundational skill that will elevate all your home cooking. This Flavorful chicken is proof that simple ingredients, when treated with the right technique, can create a world-class dining experience. We would love to see your results! Leave a comment below, and don’t forget to share your skillet photos on Pinterest.