Learning how to make pancakes that actually rival a high-end diner is a rite of passage for every home cook. We aren’t talking about thin, floppy discs; we are pursuing the architectural marvel of a five-stack of pancakes, each measuring a full 2 inches in thickness.
The secret lies in the intersection of chemistry and heat management. To achieve that iconic golden-brown seared lace pattern and those airy, bubbled edges, you must master the art of the thick-pour batter and controlled leavening.
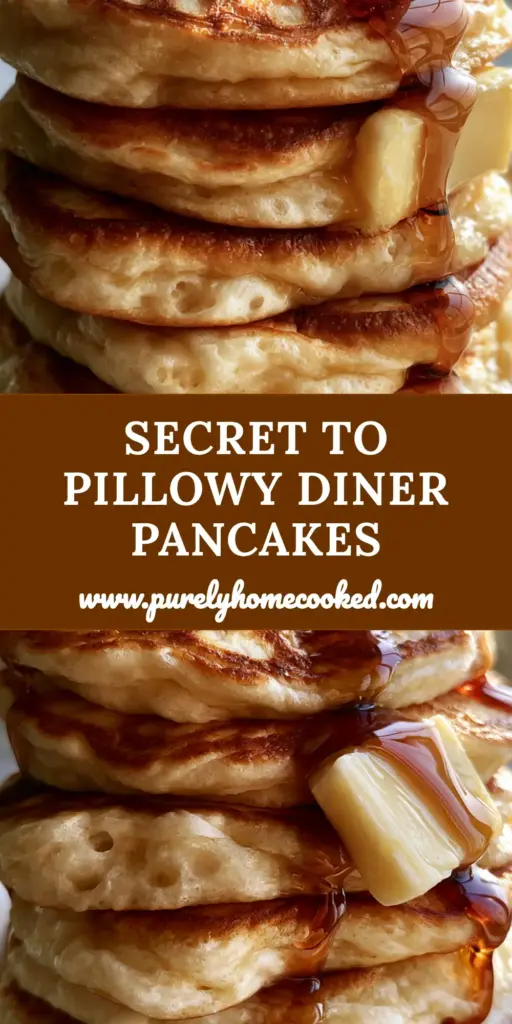
Imagine a stack so tall it leans slightly under the weight of a melting square of salted butter. As viscous, dark amber maple syrup cascades down the pillowy sides, pooling on a matte white ceramic plate, you’ll realize this is more than breakfast—it is culinary art.
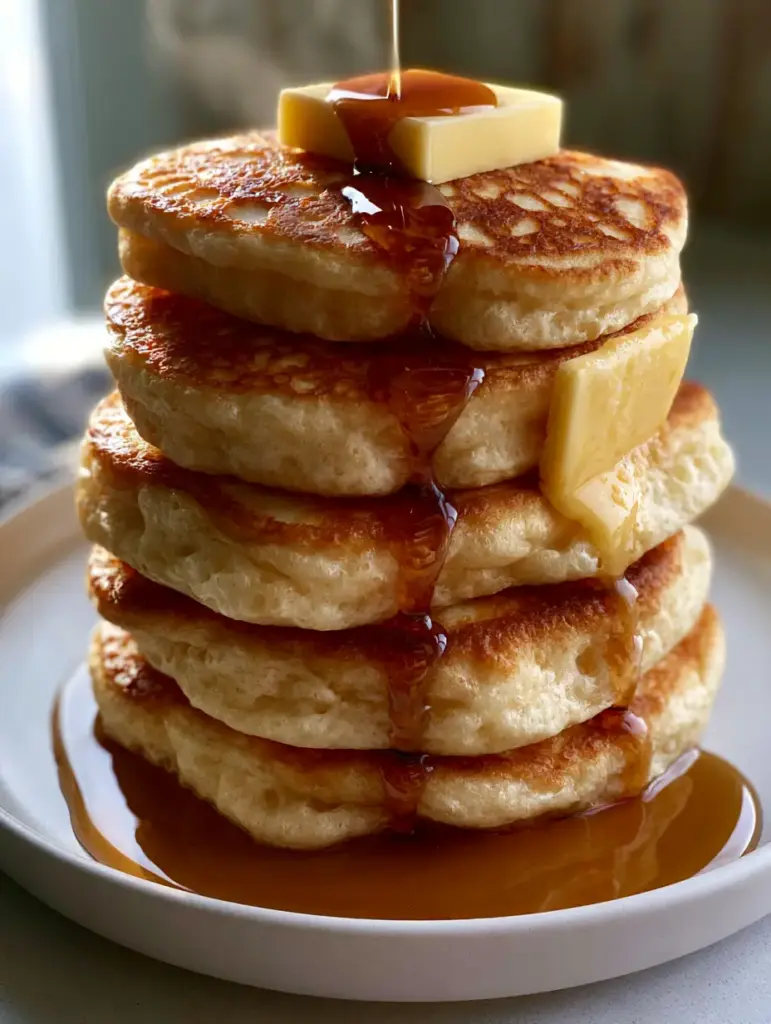
The Anatomy of a Perfect 2-Inch Thick Pancake Stack
- Structural Integrity: Each pancake reaches a 2-inch (5cm) height through a double-leavening process and stiff-peaked egg whites.
- The Lace Pattern: A specific ratio of melted butter to high-heat surface contact creates a variegated golden-brown crust rather than a flat, matte brown surface.
- Pillowy Interior: By using cultured buttermilk, the crumb remains tender and moist despite the massive vertical rise.
- Visual Aesthetics: The contrast of dark amber syrup against a matte white plate ensures every measurement is focused on “the drip.”
The Essential Pantry Staples for Ultra-Thick Pancake Success
To master how to make pancakes of this magnitude, every ingredient must serve a structural or chemical purpose. We do not use “just enough” flour; we use the exact weight to support the air bubbles.
All-Purpose Flour (2 ½ cups / 312g): This provides the necessary gluten structure to hold the 2-inch rise. Always fluff your flour before measuring to avoid a dense, leaden stack.
Baking Powder (1 tbsp / 15g) and Baking Soda (1 tsp / 5g): This high ratio is required for the extreme verticality. The powder provides the lift, while the soda reacts with the buttermilk for instant browning.
Granulated Sugar (2 tbsp / 25g): Beyond sweetness, sugar aids in the Maillard reaction. This is what creates that beautiful, seared lace pattern on the top surface.
Fine Sea Salt (1 tsp / 6g): Salt is the conductor of flavor. It cuts through the richness of the butter and heightens the floral notes of the dark maple syrup.
Full-Fat Buttermilk (2 cups / 480ml): The acidity is non-negotiable. It tenderizes the gluten and reacts with the leavening agents to create those airy bubbled edges.
Large Eggs (3 total, separated): We will use the yolks for richness and whip the whites to stiff peaks. This “soufflé-lite” method is the secret to 2-inch thickness.
Unsalted Butter (4 tbsp / 56g, melted and cooled): Fat provides the “shattering” edge to the lace pattern. Use a high-quality European butter if possible for better water-to-fat ratios.
Pure Vanilla Extract (2 tsp / 10ml): Use real vanilla to provide a deep, aromatic background that complements the dark maple syrup.
Professional Tools for Vertical Pancake Architecture
Achieving the perfect stack requires more than a standard frying pan. You need tools that distribute heat evenly to ensure the center of a 2-inch pancake cooks before the exterior burns.
A heavy-bottomed cast iron griddle or a non-stick electric griddle is preferred. You will also need a wide offset spatula to flip these massive rounds without collapsing the air cells. For those who want perfectly uniform 2-inch edges, 3-inch (7.5cm) wide silicone crumpet rings or pancake molds can be used, though a very thick batter will hold its shape naturally.
While these decadent pancakes are a standalone masterpiece, they are often part of a larger brunch spread. If you are looking for savory balance, consider serving them alongside a savory zucchini onion pie or even a protein-packed Philly cheesesteak bowl for a true “brunch for champions.”
Step-By-Step: Constructing the 5-Stack Masterpiece
Phase 1: The Dry and Wet Integration
In a large bowl, whisk together your flour, baking powder, baking soda, salt, and sugar. Sifting these ingredients ensures there are no clumps, which is vital for an airy, uniform crumb.
In a separate medium bowl, whisk the buttermilk, egg yolks, vanilla, and melted butter. Ensure the butter is cooled slightly; you do not want to scramble the yolks prematurely.
Phase 2: Developing the Aerated Foundation
This is the critical step for 2-inch thickness. In a clean glass bowl, beat the 3 egg whites until they reach stiff peaks. They should stand straight up when the whisk is lifted.
Gently fold the wet ingredients into the dry ingredients until just combined. The batter should look thick and slightly lumpy. Fold in the egg whites in three stages, being careful not to deflate the air you’ve worked so hard to incorporate.
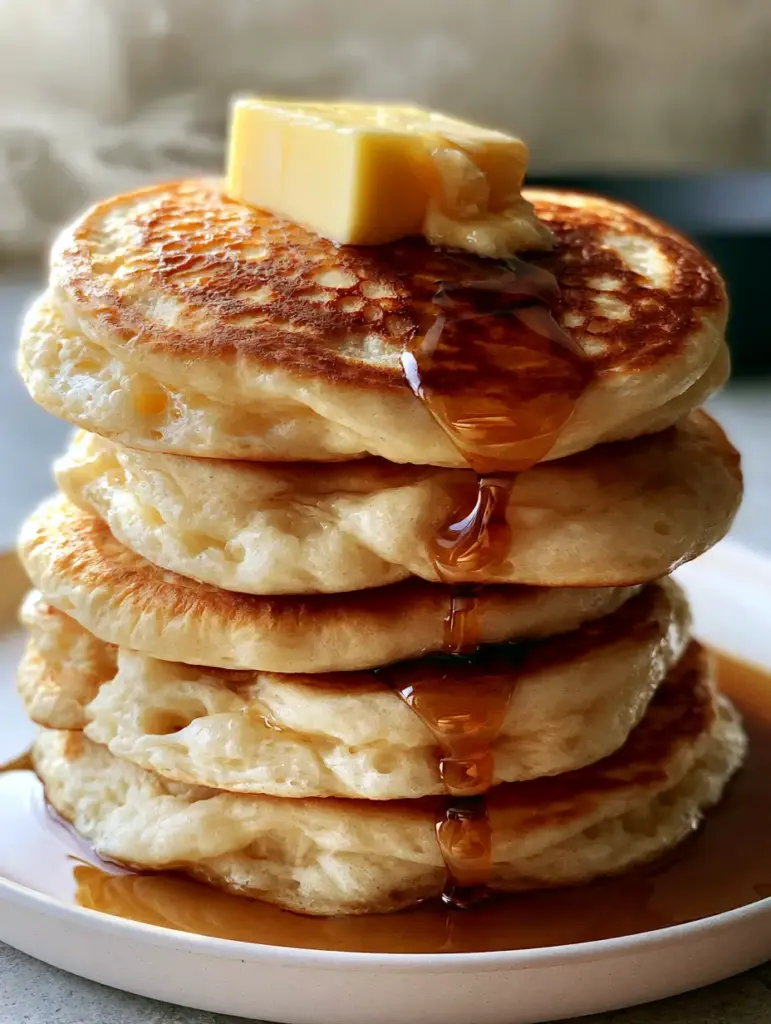
Phase 3: The Precision Sear and Rise
Heat your griddle to a steady 325°F (165°C). Lightly grease the surface with a small amount of butter. You should see a faint shimmer, but the butter should not smoke.
Pour approximately ½ cup (120ml) of batter for each pancake. If you aren’t using molds, the batter should be thick enough to sit high on the griddle. Do not flatten it with your spoon.
Phase 4: Monitoring Sensory Cues
Watch for the “airy bubbled edges.” Small holes will form around the perimeter. Because these are 2 inches thick, they need about 3-4 minutes per side. You are looking for that “golden-brown seared lace pattern” to develop on the bottom before flipping.
Flip with a confident, quick motion. The second side will rise even further. Once both sides are golden and the center feels springy to the touch, remove to a matte white ceramic plate.
Expert Tips for Pancake Perfection
- The Resting Period: Let your batter rest for 5-10 minutes before cooking. This allows the starch granules to hydrate and the leavening to “bloom.”
- Cold Butter Topping: Always use a square pat of cold salted butter for the topping. The temperature contrast between the hot steam and the cold fat creates that beautiful “slide” effect.
- Syrup Viscosity: Warm your dark amber maple syrup slightly. This reduces surface tension, allowing it to drip in that thick, viscous manner shown in our visual blueprint.
- Heat Consistency: If your pancakes are browning too fast but staying raw inside, your griddle is too hot. Lower the heat and use a lid for 60 seconds to trap steam and cook the center.
Pairing Your Pancakes for the Ultimate Brunch
If you’re hosting a crowd, these pancakes are a heavy hitter. You might want to offer lighter, vinegar-based sides to cut through the richness, such as cucumbers and onions in vinegar or a crisp cucumber onion salad.
For those who prefer a “breakfast for dinner” vibe, these pillowy stacks pair surprisingly well with savory, salty dishes like a honey garlic beef rice bowl or even as a side to traditional egusi soup for a fusion of textures. If you have leftover batter, it makes for legendary late-night snacks.
Storage and Reheating Guidelines
Pancakes are best served fresh to maintain the rising steam effect. However, you can store them in an airtight container in the refrigerator for up to 3 days. To reheat, avoid the microwave as it makes the “pillowy” texture rubbery.
Instead, use a toaster oven or a dry skillet over low heat. This restores the seared lace pattern on the exterior while warming the center. For freezing, place parchment paper between each pancake and store in a freezer bag for up to 2 months.
Frequently Asked Questions
You can, but the pancakes won’t be as thick or tender. Buttermilk’s acidity reacts with baking soda to create a massive lift. If you must use milk, add 1 tablespoon of lemon juice per cup of milk and let it sit for 5 minutes.
Look for the edges to transition from shiny to matte and for small bubbles to pop and leave holes. For thick pancakes, this takes longer (about 3-4 minutes) than standard thin pancakes.
Yes! A perfectly thick pancake batter should have small lumps. Over-mixing to create a smooth batter develops too much gluten, resulting in a tough, chewy pancake rather than a pillowy one.
The golden-brown lace pattern is a result of the Maillard reaction between the sugar in the batter and the fat (butter/oil) on the griddle. Using a medium-hot surface and enough butter ensures this mottled, crispy texture.
Flat pancakes are usually caused by over-mixing the batter, which deflates air bubbles, or using expired baking powder. For 2-inch thickness, ensure you fold in whipped egg whites gently and use fresh leavening agents.
The Official 2-Inch Thick Diner Pancake Recipe
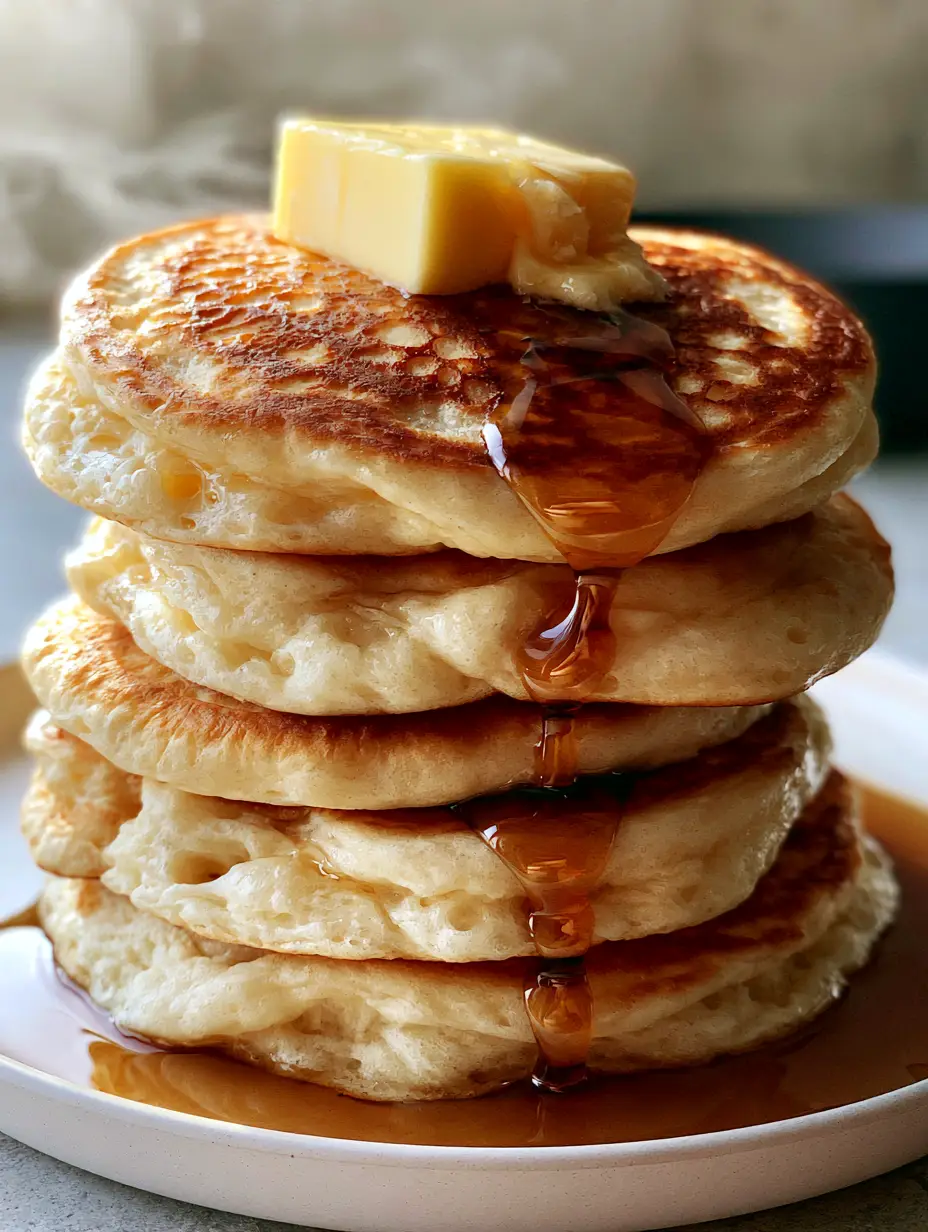
How to Make Pancakes: The Ultimate Guide to 5-Stack 2-Inch Thick Diner Stacks
Ingredients
Equipment
Method
- Whisk flour, baking powder, baking soda, sugar, and salt in a large bowl.
- In a separate bowl, whisk buttermilk, egg yolks, vanilla, and melted butter.
- Beat egg whites in a clean bowl until stiff peaks form.
- Fold wet into dry, then gently fold in egg whites in three stages.
- Preheat griddle to 325°F (165°C) and lightly grease with butter.
- Pour 1/2 cup of batter per pancake. Cook for 3-4 minutes until airy bubbles form and a lace pattern develops on the bottom.
- Flip and cook for another 3 minutes until the center is cooked through and springy.
Notes
Use cold butter for the topping to achieve the 'melting slide' look.
Closing & Call to Action
Mastering how to make pancakes that stand 2 inches tall is a rewarding challenge that turns a simple morning into a five-star event. The combination of the airy bubbled edges and that signature seared lace pattern creates a textural experience that store-bought mixes simply cannot replicate.
Did you achieve the 5-stack tower? We want to see your results! Leave a comment below with your success stories or tag us in your photos. Don’t forget to save this recipe to your breakfast boards on Pinterest so you never lose the secret to the ultimate fluff.