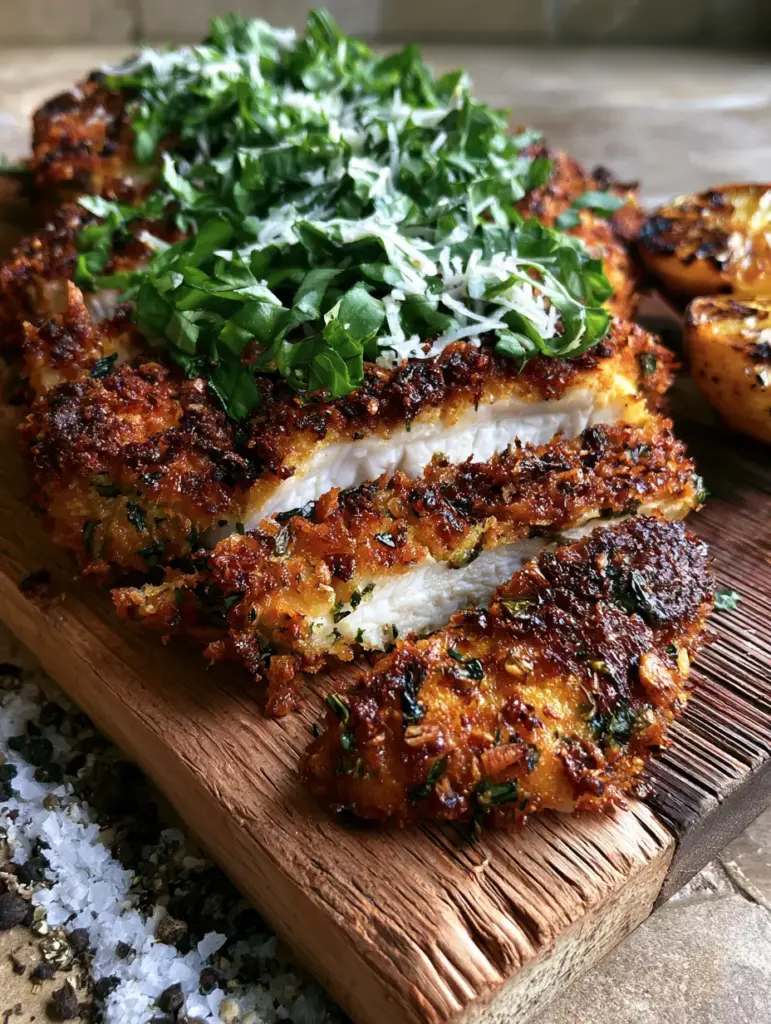
There is nothing quite like the sound of a knife slicing through the jagged, golden-brown crust of perfectly prepared Italian Basil Chicken Cutlets. As the blade breaks the surface, a puff of steam escapes, revealing a succulent, glistening white interior that promises a tender bite every single time.
This recipe is designed to bridge the gap between a simple weeknight dinner and a high-end trattoria experience. We are focusing on a multi-sensory result: the aromatic punch of fresh basil, the sharp saltiness of microplaned parmesan, and a crust that stays shatteringly crisp thanks to a specific panko-to-garlic ratio.
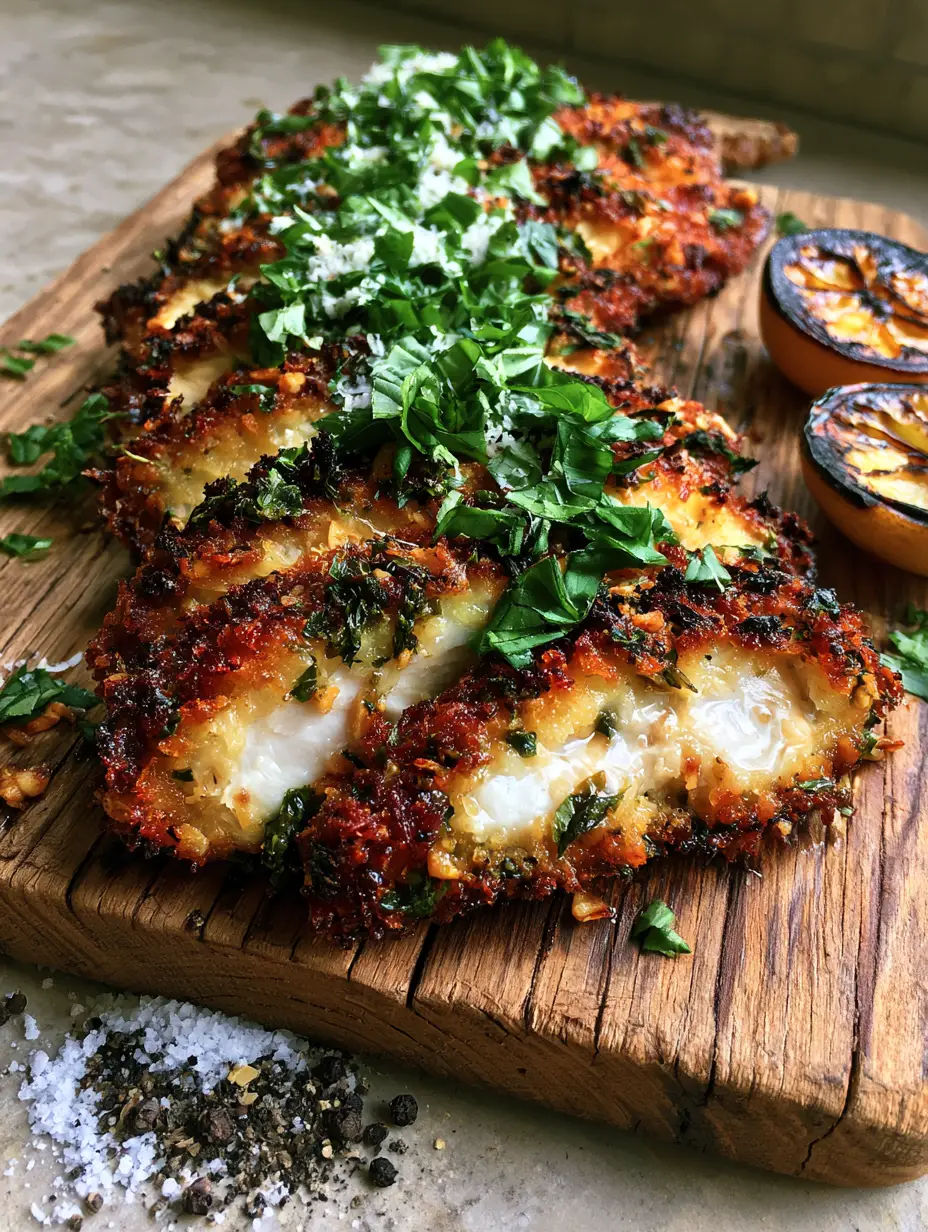
Served on a rustic wooden board with charred lemon halves, these cutlets aren’t just a meal; they are a visual and culinary masterpiece. Whether you are hosting a dinner party or elevating your family’s routine, this method ensures your chicken never turns out dry or lackluster again.
Why These Extra Crispy Italian Basil Chicken Cutlets Work
- Jagged Panko Texture: By using coarse panko breadcrumbs instead of traditional fine crumbs, we create a multidimensional surface area that catches more heat and develops a deeper golden-brown hue.
- Basil Double-Down: We incorporate dried basil into the breading for deep, earthy notes and finish with fresh chiffonade basil for a bright, peppery aromatic lift.
- Succulent Interior: A precise pounding technique ensures the chicken breasts are even in thickness, allowing for a rapid fry that sears the outside while keeping the inside glistening and moist.
- Charred Citrus Finish: Searing the lemon wedges caramelizes their natural sugars, transforming the juice into a mellow, smoky acid that cuts perfectly through the rich, fried crust.
The Anatomy of a Perfect Italian Crust: Essential Ingredients
Chicken Breasts: 1.5 lbs (680g) of boneless, skinless breasts are the canvas for this dish. Look for high-quality, air-chilled poultry to ensure minimal water release during the frying process.
Panko Breadcrumbs: 2 cups (120g) of Japanese-style panko provide that iconic jagged exterior. This specific crumb doesn’t absorb as much oil as standard breadcrumbs, ensuring a cleaner, crispier finish.
Dried Basil & Fresh Basil: 1 tbsp (5g) dried basil goes into the breading, while 1/2 cup (15g) fresh basil is sliced into a fine chiffonade for the topping. This two-step approach maximizes the herb’s presence.
Toasted Garlic Granules: 1 tbsp (10g) of garlic granules provides a nutty, roasted flavor that mimics the “bits” seen in high-end restaurant cutlets without the risk of fresh garlic burning in the oil.
Microplane Parmesan Cheese: 1/2 cup (45g) of finely grated Parmigiano-Reggiano acts as both a seasoning and a flavor enhancer. Using a microplane creates a snow-like dusting that melts into the hot crust instantly.
All-Purpose Flour: 1/2 cup (65g) is used for the initial dredge. This creates a dry surface for the egg wash to cling to, preventing the “bald spots” often found on poorly breaded chicken.
Large Eggs: 2 eggs act as the culinary glue. Whisk them thoroughly with a splash of water to break up the proteins for an even, thin coating.
Neutral Frying Oil: 1/2 cup (120ml) of avocado or grapeseed oil is ideal. These oils have a high smoke point, allowing you to achieve a deep golden-brown color without the oil breaking down and smoking.
Finishing Salt and Pepper: Coarse sea salt and freshly cracked black peppercorns are non-negotiable for the final assembly. They provide the “pop” of flavor that brings the toasted garlic and basil to life.
The Essential Kitchen Tools for Professional Results
To achieve the visual and textural standard of these Italian Basil Chicken Cutlets, you will need a heavy-bottomed skillet—preferably cast iron or stainless steel—to maintain consistent heat. A meat mallet is crucial for thinning the chicken to a uniform 1/4 inch (6mm) thickness.
For the finishing touches, a microplane grater is required to achieve that delicate parmesan “dusting.” Finally, a sharp chef’s knife is essential for creating the fresh basil chiffonade without bruising the delicate leaves.
Mastering the Golden-Brown Sear: Step-by-Step Instructions
Phase 1: Preparing the Chicken and the Breading Station
Start by placing your chicken breasts between two sheets of plastic wrap. Use the flat side of a meat mallet to pound them to an even 1/4 inch (6mm) thickness, ensuring they will cook at exactly the same rate.
Set up three wide shallow bowls. In the first, place your flour seasoned with a pinch of salt. In the second, whisk the eggs with a teaspoon of water. In the third, combine the panko, dried basil, and toasted garlic granules, mixing thoroughly.
Phase 2: The Three-Step Dredging Process
Dredge each piece of chicken in the flour, shaking off any excess. Dip the floured chicken into the egg wash, ensuring every centimeter is covered. Finally, press the chicken firmly into the panko mixture.
Apply pressure with your palms to make sure the jagged panko bits and basil flecks adhere to the meat. Let the breaded cutlets rest on a wire rack for 5 minutes; this “sets” the breading so it doesn’t fall off in the pan.
Phase 3: Achieving the Perfect Fry and Charing the Lemons
Heat your oil in a large skillet over medium-high heat. You will know it is ready when a stray breadcrumb sizzles immediately upon contact. Carefully lay the chicken away from you into the hot oil.
Fry for 3-4 minutes per side. Look for the visual cue of a deep golden-brown, jagged exterior. While the chicken fries, place your lemon halves cut-side down in a corner of the pan or a separate small skillet until they are deeply charred and blackened in spots.
Phase 4: The Final Assembly on the Rustic Board
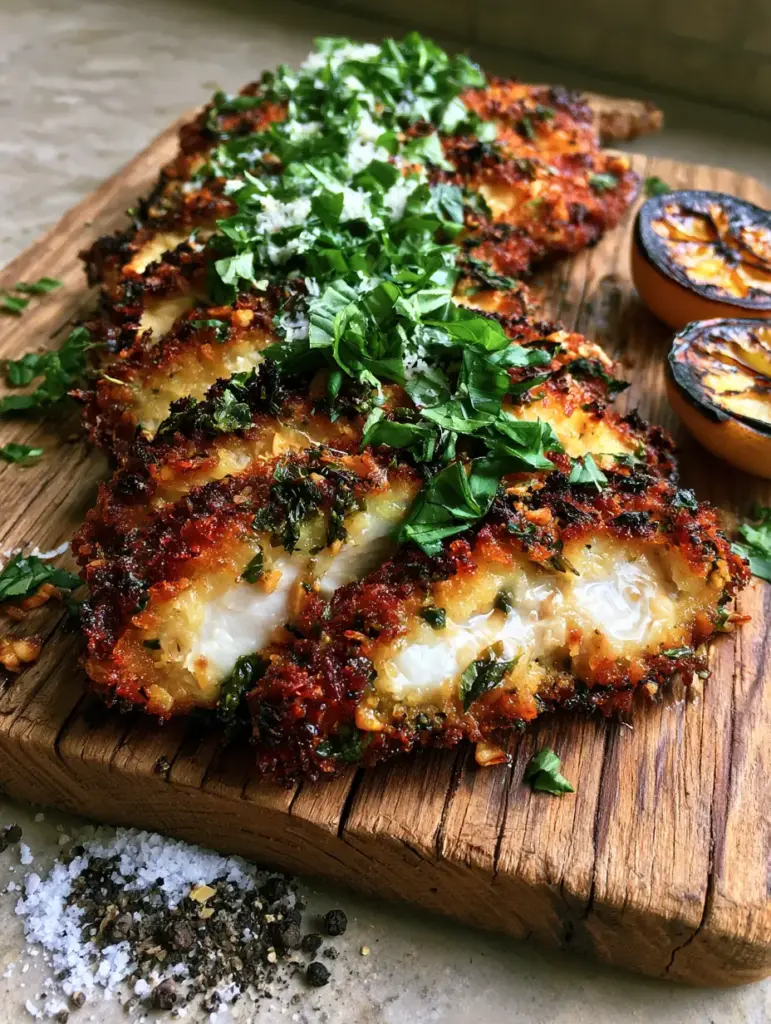
Remove the chicken and let it rest for 2 minutes on a cutting board. Slice the cutlets into thick, succulent strips. Arrange them on a rustic wooden board, showing off the steaming white interior meat.
Top with a heavy scatter of fresh basil chiffonade and a generous dusting of microplaned parmesan. Finish with a spill of coarse sea salt and cracked black pepper around the edges of the board for a professional presentation.
Pro Tips for the Ultimate Crispy Cutlet
- Temperature Control: If your oil is too cold, the breading will absorb grease and become soggy. If it’s too hot, the garlic granules will burn before the chicken is cooked. Aim for 350°F (175°C).
- The Resting Period: Never skip the 5-minute rest after breading. This allows the flour and egg to create a structural bond that keeps the crust attached during the flip.
- Microplane Magic: Always grate your parmesan fresh. Pre-shredded cheese contains anti-caking agents that prevent it from melting beautifully into the hot chicken crust.
Storage, Reheating, and Make-Ahead Advice
These cutlets are best enjoyed immediately to appreciate the contrast between the hot crust and juicy meat. However, leftovers can be stored in an airtight container in the refrigerator for up to 3 days.
To reheat, avoid the microwave as it will make the panko rubbery. Instead, place the cutlets on a wire rack over a baking sheet and heat in a 375°F (190°C) oven for 8-10 minutes until the exterior recrisps.
What to Serve With Italian Basil Chicken Cutlets
To turn this into a full Italian feast, consider pairing the cutlets with a creamy pasta. They go exceptionally well alongside an authentic Italian carbonara, where the brightness of the lemon cuts through the rich egg sauce.
For a lighter lunch option, you can slice cold leftover cutlets and toss them into a vibrant Italian grinder chicken salad for a protein-packed meal. If you are a fan of bold poultry dishes, these cutlets are a great addition to your rotation of flavorful chicken recipes.
Frequently Asked Questions
It is not recommended. Fresh garlic has a high water content and burns quickly at frying temperatures, which can leave a bitter taste. Toasted garlic granules provide the best flavor and texture for a golden crust.
Use a microplane grater to shred high-quality Parmigiano-Reggiano. The fine, airy texture created by the microplane allows the cheese to sit lightly on the hot crust and melt slightly without clumping.
The secret is a two-step approach: first, ensure the chicken is patted dry before dredging in flour, and second, let the breaded cutlets rest on a wire rack for 5 minutes before frying to set the ‘glue’ (egg and flour).
Visually, the crust should be a deep golden-brown. Internally, the chicken is done when it reaches 165°F (74°C). Because they are pounded thin, this usually takes only 3-4 minutes per side.
Use a neutral oil with a high smoke point like avocado, grapeseed, or canola oil. Avoid extra virgin olive oil for the main fry as it can smoke and break down at the temperatures required for a crispy crust.
The Ultimate Italian Basil Chicken Cutlets Recipe
Italian Basil Chicken Cutlets with Extra Crispy Panko Crust
Ingredients
Equipment
Method
- Place chicken between plastic wrap and pound to 1/4 inch (6mm) thickness using a meat mallet.
- Organize three bowls: flour in the first, whisked eggs in the second, and panko mixed with dried basil and garlic in the third.
- Coat chicken in flour, dip in egg, then press firmly into the panko mixture until fully coated.
- Heat oil in a skillet over medium-high. Fry chicken for 3-4 minutes per side until deep golden-brown and crispy.
- Place lemon halves cut-side down in the pan until blackened and caramelized.
- Rest chicken for 2 minutes, slice, then top with fresh basil, parmesan, sea salt, and black pepper.
Notes
Always use a high-smoke point oil like avocado or grapeseed to avoid burning the garlic granules.
Join the Purely Homecooked Community!
We hope these Italian Basil Chicken Cutlets become a staple in your kitchen! The combination of toasted garlic, fresh basil, and that signature panko crunch is truly unbeatable. If you made this recipe, please leave a comment below and let us know how it turned out!
Don’t forget to follow us on Pinterest for more culinary inspiration and high-RPM recipe secrets. Share your photos and tag us—we love seeing your rustic board presentations!