If you have never experienced the salty, tangy, and dangerously addictive crunch of Dill pickle saltines, your snack game is about to change forever. These aren’t just your standard pantry staples; they are transformed into a gourmet treat through a precise toasting process and a savory, herb-infused glaze.
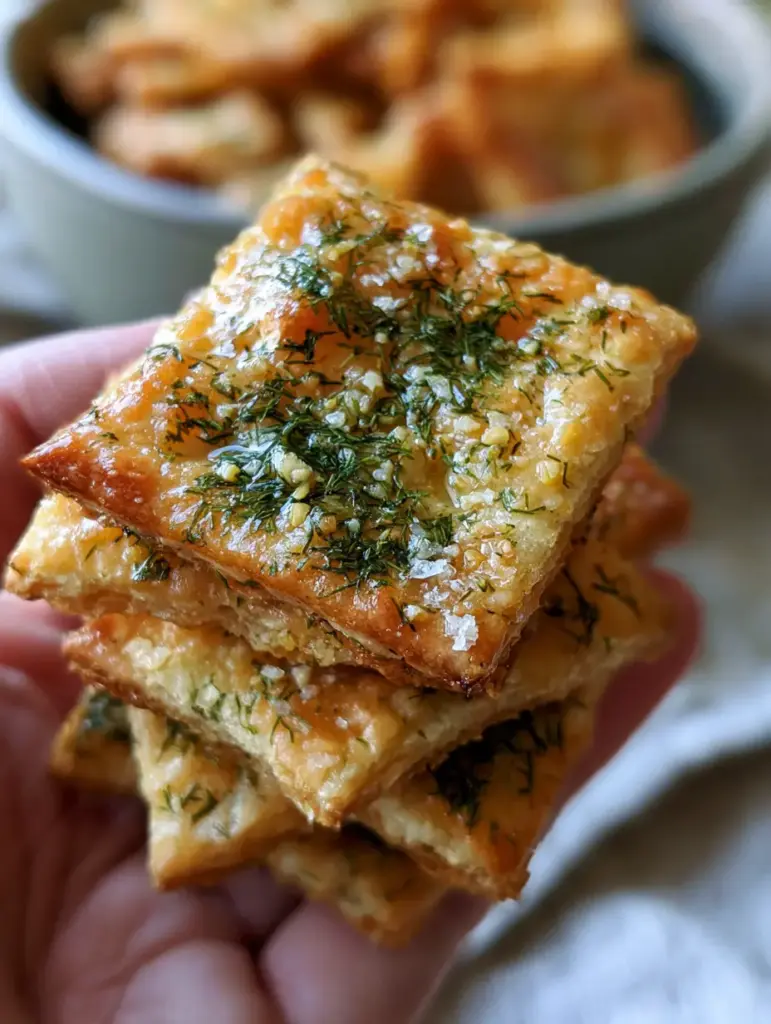
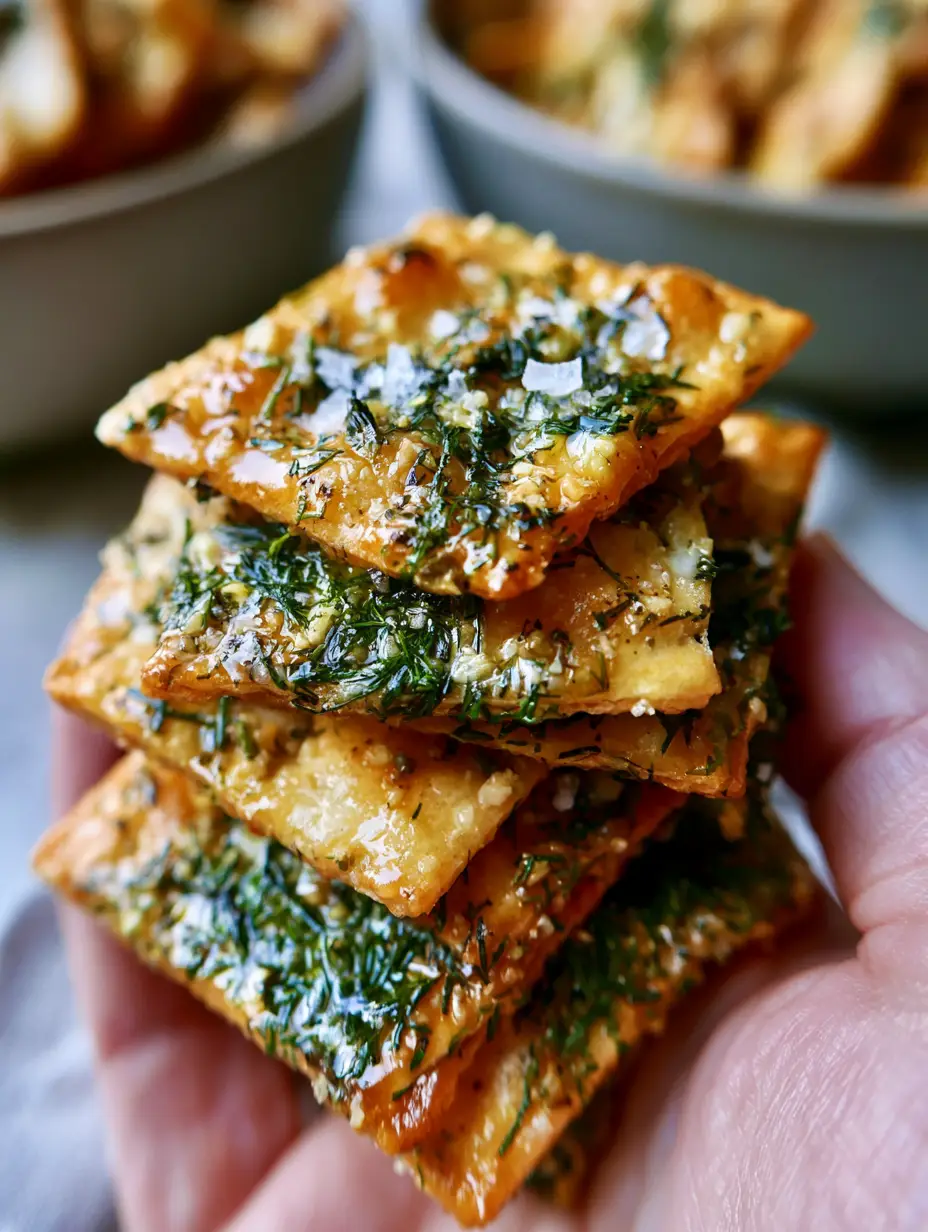
Imagine a stack of golden-brown crackers, glistening under soft natural light, each one coated in a vibrant layer of dried dill, garlic, and sparkling salt crystals. The texture is impeccably crispy, offering a loud, satisfying snap with every single bite.
Whether you are looking for the perfect vessel for a creamy tuna pasta salad or a standalone snack for your next gathering, these seasoned crackers deliver a punch of flavor that mirrors the profile of a classic deli pickle.
Why These Herb-Infused Crackers are a Total Game Changer
- Visual Perfection: These crackers boast a deep golden-brown finish and a visible, meticulous coating of vibrant green dill and coarse sea salt.
- Structural Integrity: Unlike store-bought flavored snacks, these maintain a robust, toasted flour cracker base that won’t crumble under the weight of a heavy dip.
- The “Pickle” Punch: By utilizing a specific ratio of garlic powder, onion powder, and dried dill weed, we recreate that signature briny tang.
- Shatter-Crisp Texture: A low-and-slow bake ensures the vegetable oil glaze penetrates the layers without making the saltine soggy.
Essential Components for the Perfect Savory Glaze
Saltine Crackers: 2 sleeves (approx. 80 crackers). You want the standard, square toasted flour crackers; their porous nature is vital for absorbing the seasoned oil glaze.
Vegetable Oil: 3/4 cup (180ml). This serves as the carrier for our aromatics, creating that glistening, savory sheen seen in the visual blueprint.
Dried Dill Weed: 3 tbsp (12g). This provides the “vibrant green” visual and the primary aromatic note that defines the Dill pickle saltines experience.
Garlic Powder: 1.5 tsp (5g). This adds a foundational savory depth and fine granules that cling to every corner of the cracker.
Onion Powder: 1 tsp (3g). Onion powder provides a subtle sweetness and umami that rounds out the sharper garlic notes.
Coarse Sea Salt: 1 tsp (6g). Sparkling crystals of sea salt provide a secondary texture and a clean, sharp saltiness that highlights the dill.
Red Pepper Flakes: 1/2 tsp (1g). These add tiny flecks of color and a very mild, background heat that cuts through the richness of the oil.
White Vinegar (The Secret Foundation): 1 tbsp (15ml). While not visible, this is scientifically necessary to provide the “pickle” acidity that matches the visual expectation of the flavor.
Necessary Tools for Maximum Crunch
To achieve the professional results seen in our macro photography, you will need a few basic kitchen tools. A large, airtight mixing container or a gallon-sized zip-top bag is essential for tossing the crackers without breaking their square edges.
You will also need a large rimmed baking sheet lined with parchment paper. This allows for even heat distribution and prevents the crackers from sticking to the pan as the vegetable oil glaze sets and the crackers toast to a golden brown.
How to Master the Seasoning Process
Preparing the Herb-Infused Oil
In a medium mixing bowl, whisk together the vegetable oil, white vinegar, dried dill weed, garlic powder, onion powder, sea salt, and red pepper flakes. The oil should look dark green and be heavily saturated with the spices.
Whisking thoroughly is key to ensuring the fine granules of garlic and onion are suspended evenly so that every cracker gets an equal share of flavor.
The Gentle Toss Technique
Place your crackers into a large container and pour the oil mixture over the top. Seal the container and very gently turn it over and over for about 5 minutes.
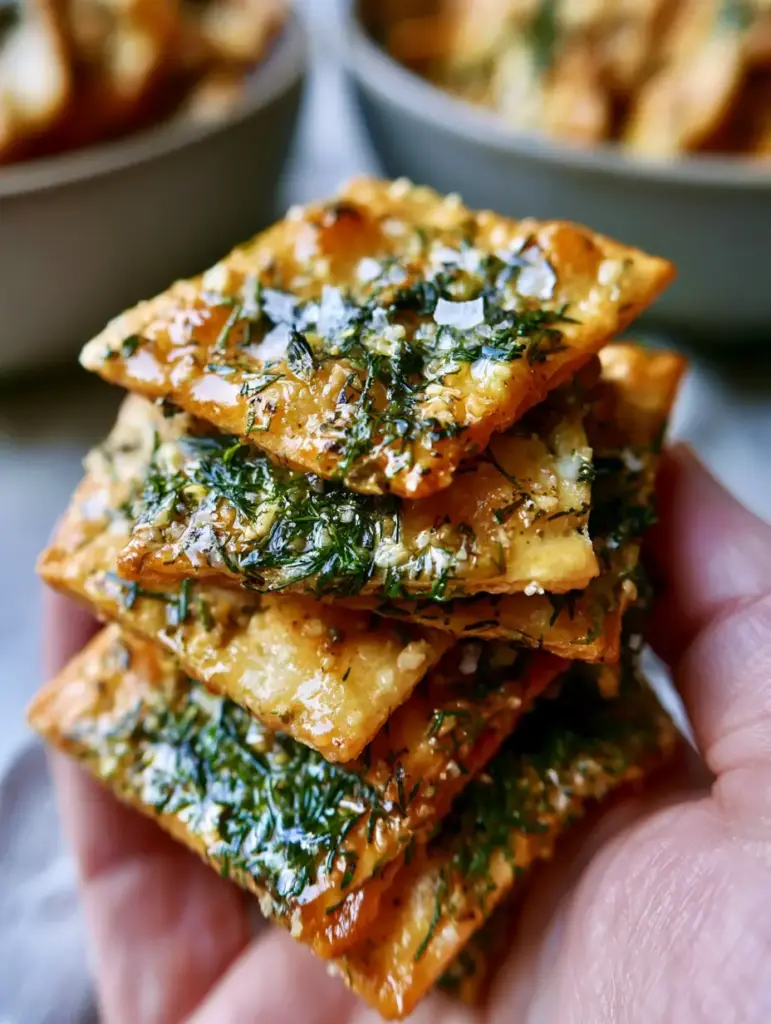
You are looking for a “glistening” appearance on every single cracker. If you see dry spots, continue the gentle rotation until the oil has been fully absorbed into the toasted flour layers.
Toasting for a Golden Brown Finish
Preheat your oven to 250°F (120°C). Arrange the crackers in a single layer on your prepared baking sheet. It is important not to overlap them too much, as they need airflow to achieve that signature crispy texture.
Bake for 15-20 minutes, flipping halfway through. You are looking for a sensory cue: the kitchen should smell intensely of dill and toasted grain, and the edges of the crackers should turn a slightly deeper shade of brown.
Pro Tips for High-Definition Flavor
- The Resting Period: Let the crackers cool completely on the baking sheet. This “sets” the oil glaze and ensures they reach their maximum shatter-point.
- Freshness Check: Ensure your dried dill is vibrant green, not brown. If the dill is old, the crackers will lose that stunning visual contrast described in the Midjourney prompt.
- The Vinegar Balance: If you prefer a “sharper” pickle taste, you can replace the white vinegar with 1 tbsp (15ml) of liquid from a jar of pickles.
- Avoid Overcrowding: If making a double batch, use two baking sheets. Crowded crackers will steam rather than toast, resulting in a soft texture.
Shelf Life and Quality Control
Store your Dill pickle saltines in an airtight container at room temperature. Because they have been toasted and the moisture has been removed, they will remain perfectly crispy for up to two weeks.
Do not refrigerate these crackers, as the humidity in the fridge will cause the crackers to lose their crunch. If they do soften over time, you can refresh them in a 300°F (150°C) oven for 3-5 minutes.
What to Pair with Your Seasoned Crackers
These crackers are incredibly versatile. They are the ultimate companion for a protein-packed canned tuna bowl (coming soon) or served alongside a hot bowl of beef and garlic butter pasta for added texture.
For a lighter lunch, try crushing a few over a refreshing pasta salad. They also make an unexpected but delicious side for cheesy philly quesadillas, providing a briny crunch that cuts through the melted cheese.
Common Questions About Seasoned Saltines
No, the 1/2 tsp of red pepper flakes is spread across 80 crackers, providing a very mild depth of flavor rather than heat. If you want truly ‘fire crackers,’ increase the amount to 1-2 teaspoons.
For this specific recipe, dried dill weed is preferred. Fresh dill contains moisture which can prevent the crackers from reaching a crispy texture. Dried dill also provides a more concentrated flavor profile that adheres better to the oil glaze.
The combination of white vinegar, garlic powder, and onion powder creates a chemical acidity that mimics the briny tang of a pickle. This allows you to achieve the flavor without adding too much liquid to the toasted flour crackers.
Store them in a glass jar or airtight plastic container at room temperature. They will stay fresh and crispy for up to 14 days. Avoid refrigeration as it introduces moisture.
Soggy crackers usually result from too much oil or not baking them long enough at a low temperature. Ensure you use the exact 3/4 cup (180ml) ratio and toast them until the glaze is set and the edges are golden brown.
The Complete Dill Pickle Saltines Recipe Card
Dill Pickle Saltines: The Ultimate Crispy Seasoned Cracker Recipe
Ingredients
Equipment
Method
- In a medium bowl, whisk the vegetable oil, vinegar, dill, garlic powder, onion powder, sea salt, and red pepper flakes until well combined.
- Place crackers in a large container. Pour the oil mixture over them. Seal and gently rotate for 5 minutes until every cracker is glistening and the green dill is evenly distributed.
- Spread the crackers in a single layer on a parchment-lined baking sheet.
- Bake at 250°F (120°C) for 15-20 minutes. Look for the edges to turn slightly golden brown and the herb-infused oil to set.
- Allow to cool completely on the pan to ensure a perfect crispy texture.
Notes
Store in an airtight container to keep them shatter-crisp for 2 weeks.
Join the Purely Home Cooked Community!
Once you try these Dill pickle saltines, you’ll never go back to plain crackers again. They are the perfect blend of pantry simplicity and gourmet flavor execution.
If you loved this recipe, please leave a comment below and let us know how they turned out! Don’t forget to save this to your snack boards on Pinterest so you always have the recipe on hand.