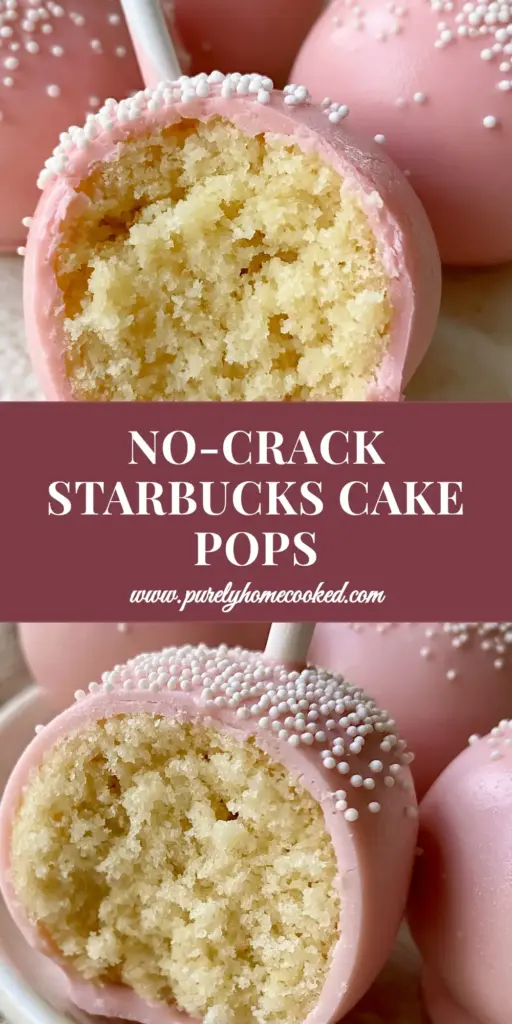
Mastering professional-grade cake pop recipes at home is often seen as a culinary mountain to climb, but achieving that iconic, glossy finish is simpler than you think. Imagine a dense, moist, and tender pale-yellow vanilla cake crumb interior encased in a perfectly smooth, thin pastel pink candy coating. This isn’t just a snack; it’s a tiny, handheld masterpiece that rivals any high-end coffee shop display.
The secret lies in the forensic balance between the crumb texture and the fluidity of the coating. In this guide, we are breaking down the science of the “perfect bite”—that moment when the candy shell snaps under your teeth to reveal a moist, fudge-like center. Whether you are prepping for a birthday party or just satisfying a gourmet sweet tooth, these steps ensure your results look exactly like a professional food photograph.
From the precise temperature of your candy melts to the specific way you crumble your sponge, every detail matters. We will avoid the common pitfalls of oily crumbs or cracked shells, focusing instead on the elegant, white-nonpareil-dusted aesthetic seen in the most viral social media posts. Let’s dive into the chemistry of the ultimate vanilla cake pop.
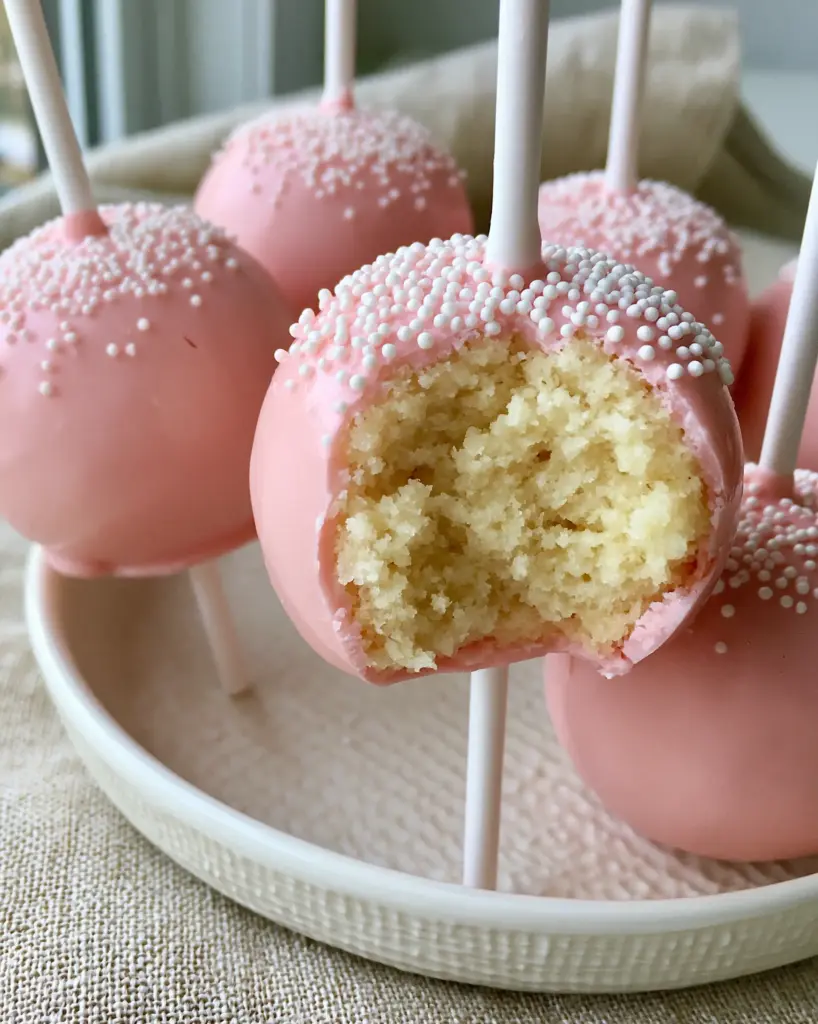
The Anatomy of a Perfect Pink Cake Pop
- Moist, Dense Interior: A pale-yellow vanilla crumb that holds its shape without being overly greasy or crumbly.
- Glossy, Snap-Worthy Shell: A thin pastel pink coating achieved by proper tempering and thinning, ensuring a crack-free finish.
- Textural Contrast: Tiny white nonpareil sugar sprinkles that provide a delicate crunch against the smooth candy exterior.
- Structural Integrity: Clean white lollipop sticks securely anchored so your treats never slide or lean.
Essential Components for Gourmet Vanilla Cake Pops
All-Purpose Flour (315g / 2.5 cups): This provides the structural foundation for our cake. We want a tight crumb, so we avoid cake flour which can sometimes be too airy for the “dense” requirement of a professional cake pop.
Unsalted Butter (225g / 1 cup): Creamed with sugar, this creates the classic pale-yellow color and rich mouthfeel. It must be at room temperature to ensure it emulsifies correctly with the liquids.
Granulated Sugar (300g / 1.5 cups): Beyond sweetness, sugar tenderizes the crumb by interfering with gluten development, leading to that “tender” interior we’re looking for.
Whole Milk (240ml / 1 cup): The fat content in whole milk adds moisture and helps achieve the “pale-yellow” hue when combined with the egg yolks.
Large Eggs (3 units): Eggs provide the lift and the color. Using room temperature eggs ensures the batter stays smooth and doesn’t curdle during mixing.
Vanilla Bean Paste (2 tsp / 10ml): While extract works, paste provides those tiny gourmet flecks and a deeper aroma that defines a high-end cake pop.
Vanilla Buttercream Frosting (120g / 0.5 cup): This is our “glue.” It needs to be stiff enough to hold the crumb together but not so much that the cake pop becomes mushy.
Pink Candy Melts (450g / 16oz): These provide the “perfectly smooth, glossy” shell. Choose a high-quality brand for the best meltability.
Coconut Oil or Paramount Crystals (1 tbsp / 15g): This is the secret “invisible” ingredient. It thins the candy coating so it flows smoothly and creates a “thin pastel pink” layer rather than a thick, clumpy one.
White Nonpareil Sprinkles: These tiny beads are essential for the visual “neat dusting” described in our blueprint. They cling best when the coating is still slightly tacky.
Tools for a Professional Finish
To achieve that “unedited handheld smartphone photo” look, you need more than just a bowl. A high-quality stand mixer is vital for aerating the butter and sugar to the right consistency. You will also need a 20-unit cake pop stand or a block of styrofoam to allow the pops to dry upright without flat spots.
A microwave-safe deep silicone cup is better than a wide bowl for dipping. The depth allows you to submerge the entire cake ball in one fluid motion, which is the only way to get a “perfectly smooth” finish with “no cracks.” Finally, ensure you have 6-inch white lollipop sticks for that classic “copycat” aesthetic.
Forging the Perfect Vanilla Sponge
Creaming for Color and Texture
Start by beating your room-temperature butter and granulated sugar for at least 5 minutes. You are looking for a visual change: the mixture should turn nearly white and become very fluffy. This aeration is what creates the “moist and tender” interior once the cake is crumbled and recombined.
Add your eggs one at a time, ensuring each is fully incorporated before adding the next. If the mixture looks split, add a tablespoon of your flour to bring it back together. Stir in the vanilla bean paste; the smell should be intoxicatingly sweet and floral.
Dry Ingredient Integration
Sift your flour, baking powder, and salt together. Alternating between the dry ingredients and the milk, fold them into the butter mixture. Do not overmix here! Overmixing develops gluten, which would turn our “tender” crumb into something tough and bready. Stop as soon as no flour streaks remain.
The Bake and Cool
Pour the batter into a greased 9×13 inch pan. Bake at 350°F (175°C) for 30-35 minutes. You are looking for a “pale-yellow” interior, so do not over-brown the top. Once a toothpick comes out clean, remove it from the oven and let it cool completely. A warm cake will melt the frosting and create a greasy mess.
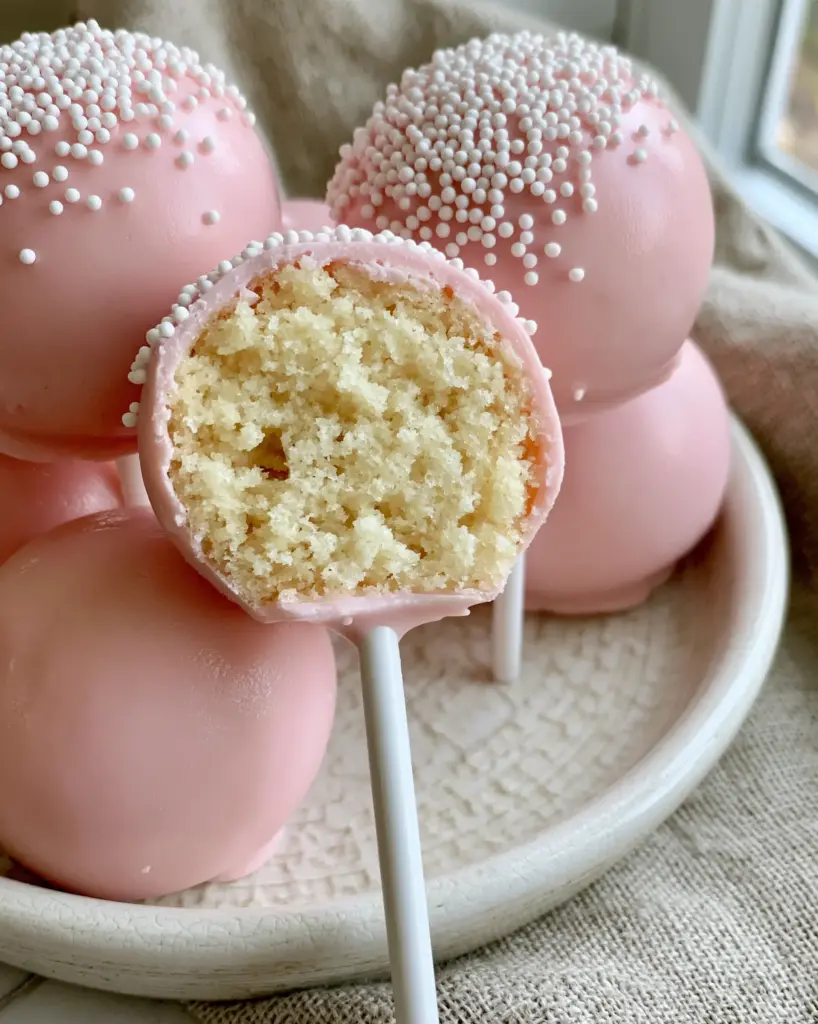
The Art of the “Clean Bite” Crumb
Deconstructing the Cake
Once the cake is cold, trim off any browned edges or “crust.” We only want the pale-yellow center for our cake pop recipes. Crumble the cake into a large bowl until it looks like fine, uniform sand. There should be no large chunks remaining.
The Binding Process
Add the vanilla buttercream frosting one tablespoon at a time. Use your hands to mix it until the dough reaches the consistency of Play-Doh. To test, roll a small ball; it should be “perfectly smooth” with no cracks. If it cracks, it needs a touch more frosting. If it feels greasy, you’ve added too much.
Rolling and Chilling
Scoop approximately 1.5 tablespoons of dough and roll it into a tight, seamless ball. Place these on a parchment-lined tray and chill in the freezer for exactly 15 minutes. They need to be firm but not frozen. If they are too cold, the “pink candy coating” will crack as the cake expands when it warms up.
Dipping for a Glossy Pink Shell
Melting the Coating
Melt your pink candy melts with the coconut oil in 30-second intervals, stirring vigorously in between. The oil is the key to that “thin pastel pink” look. The coating should run off your spoon like warm honey. If it’s too thick, it will pull the cake ball off the stick.
The Anchor Technique
Dip the tip of a white lollipop stick about half an inch into the melted candy, then insert it halfway into a chilled cake ball. This creates a “seal” that prevents the pop from falling. Let this set for 2 minutes before the full dip.
The Fluid Dip
Submerge the cake pop vertically into the deep cup of pink coating until it meets the stick. Pull it straight up—do not stir or swirl! Gently tap your wrist (not the stick) to allow excess coating to drip off. While the coating is still wet, add a “neat dusting” of white nonpareils to the top.
Expert Tips for Success
- Temperature Control: Never dip a frozen cake ball into hot candy melts. The temperature shock is the primary cause of cracks in the shell.
- Thinning the Melt: If your pink coating feels “gloppy,” add a teaspoon more coconut oil. A thin coating is essential for that professional “copycat” look.
- The Tap Method: When removing excess chocolate, tap your hand, not the stick itself. This vibration is gentler and prevents the cake from sliding off.
- Crumb Precision: If you want that “dense, moist” look in the bite, ensure your crumbs are as fine as possible before adding frosting.
Storage, Reheating & Freezing
These cake pops are surprisingly resilient. You can store them in an airtight container at room temperature for up to 3 days. For longer storage, keep them in the refrigerator for up to a week. The “glossy” shell protects the moist interior from drying out.
If you want to make these ahead of time, you can freeze the un-dipped cake balls for up to 3 months. When you’re ready to finish them, thaw them in the fridge overnight before proceeding with the dipping steps. Never freeze the finished, dipped pops, as the condensation will dull the “glossy” finish and make the nonpareils bleed color.
What to Serve With These Treats
Cake pops are the ultimate party food, but they need the right companions to balance the sweetness. For a dessert spread, consider pairing them with something refreshing like instant ice cream or a light fruit platter.
If you are serving these at a brunch or luncheon, they follow savory dishes beautifully. Imagine serving these after a hearty philly cheesesteak quesadillas or even a fresh tuna pasta salad. For a morning treat, they are a fun “side” to banana overnight oats (coming soon).
For those who love a baking marathon, these pink beauties look stunning next to a tray of banana bread cinnamon rolls. The contrast between the rustic rolls and the polished pink pops is a food stylist’s dream.
Frequently Asked Questions
Yes, you can! Just ensure you bake it as directed, cool it completely, and trim away any browned edges to keep the interior that classic ‘pale-yellow’ color.
The secret is adding a thinning agent like coconut oil or paramount crystals to your candy melts. This reduces the viscosity, allowing the excess to drip off easily for a thin, professional finish.
Always dip the tip of your lollipop stick into the melted candy before inserting it into the cake ball. This acts as a ‘glue’ that secures the ball to the stick once it sets.
Because the candy shell seals in the moisture, they stay fresh for up to 3 days at room temperature or 1 week in the refrigerator in an airtight container.
Cracking usually happens due to temperature shock. If your cake balls are too cold (frozen) and your candy coating is too hot, the cake expands as it warms, shattering the shell. Ensure the balls are chilled but not frozen before dipping.
The Ultimate Copycat Pink Cake Pop Recipe
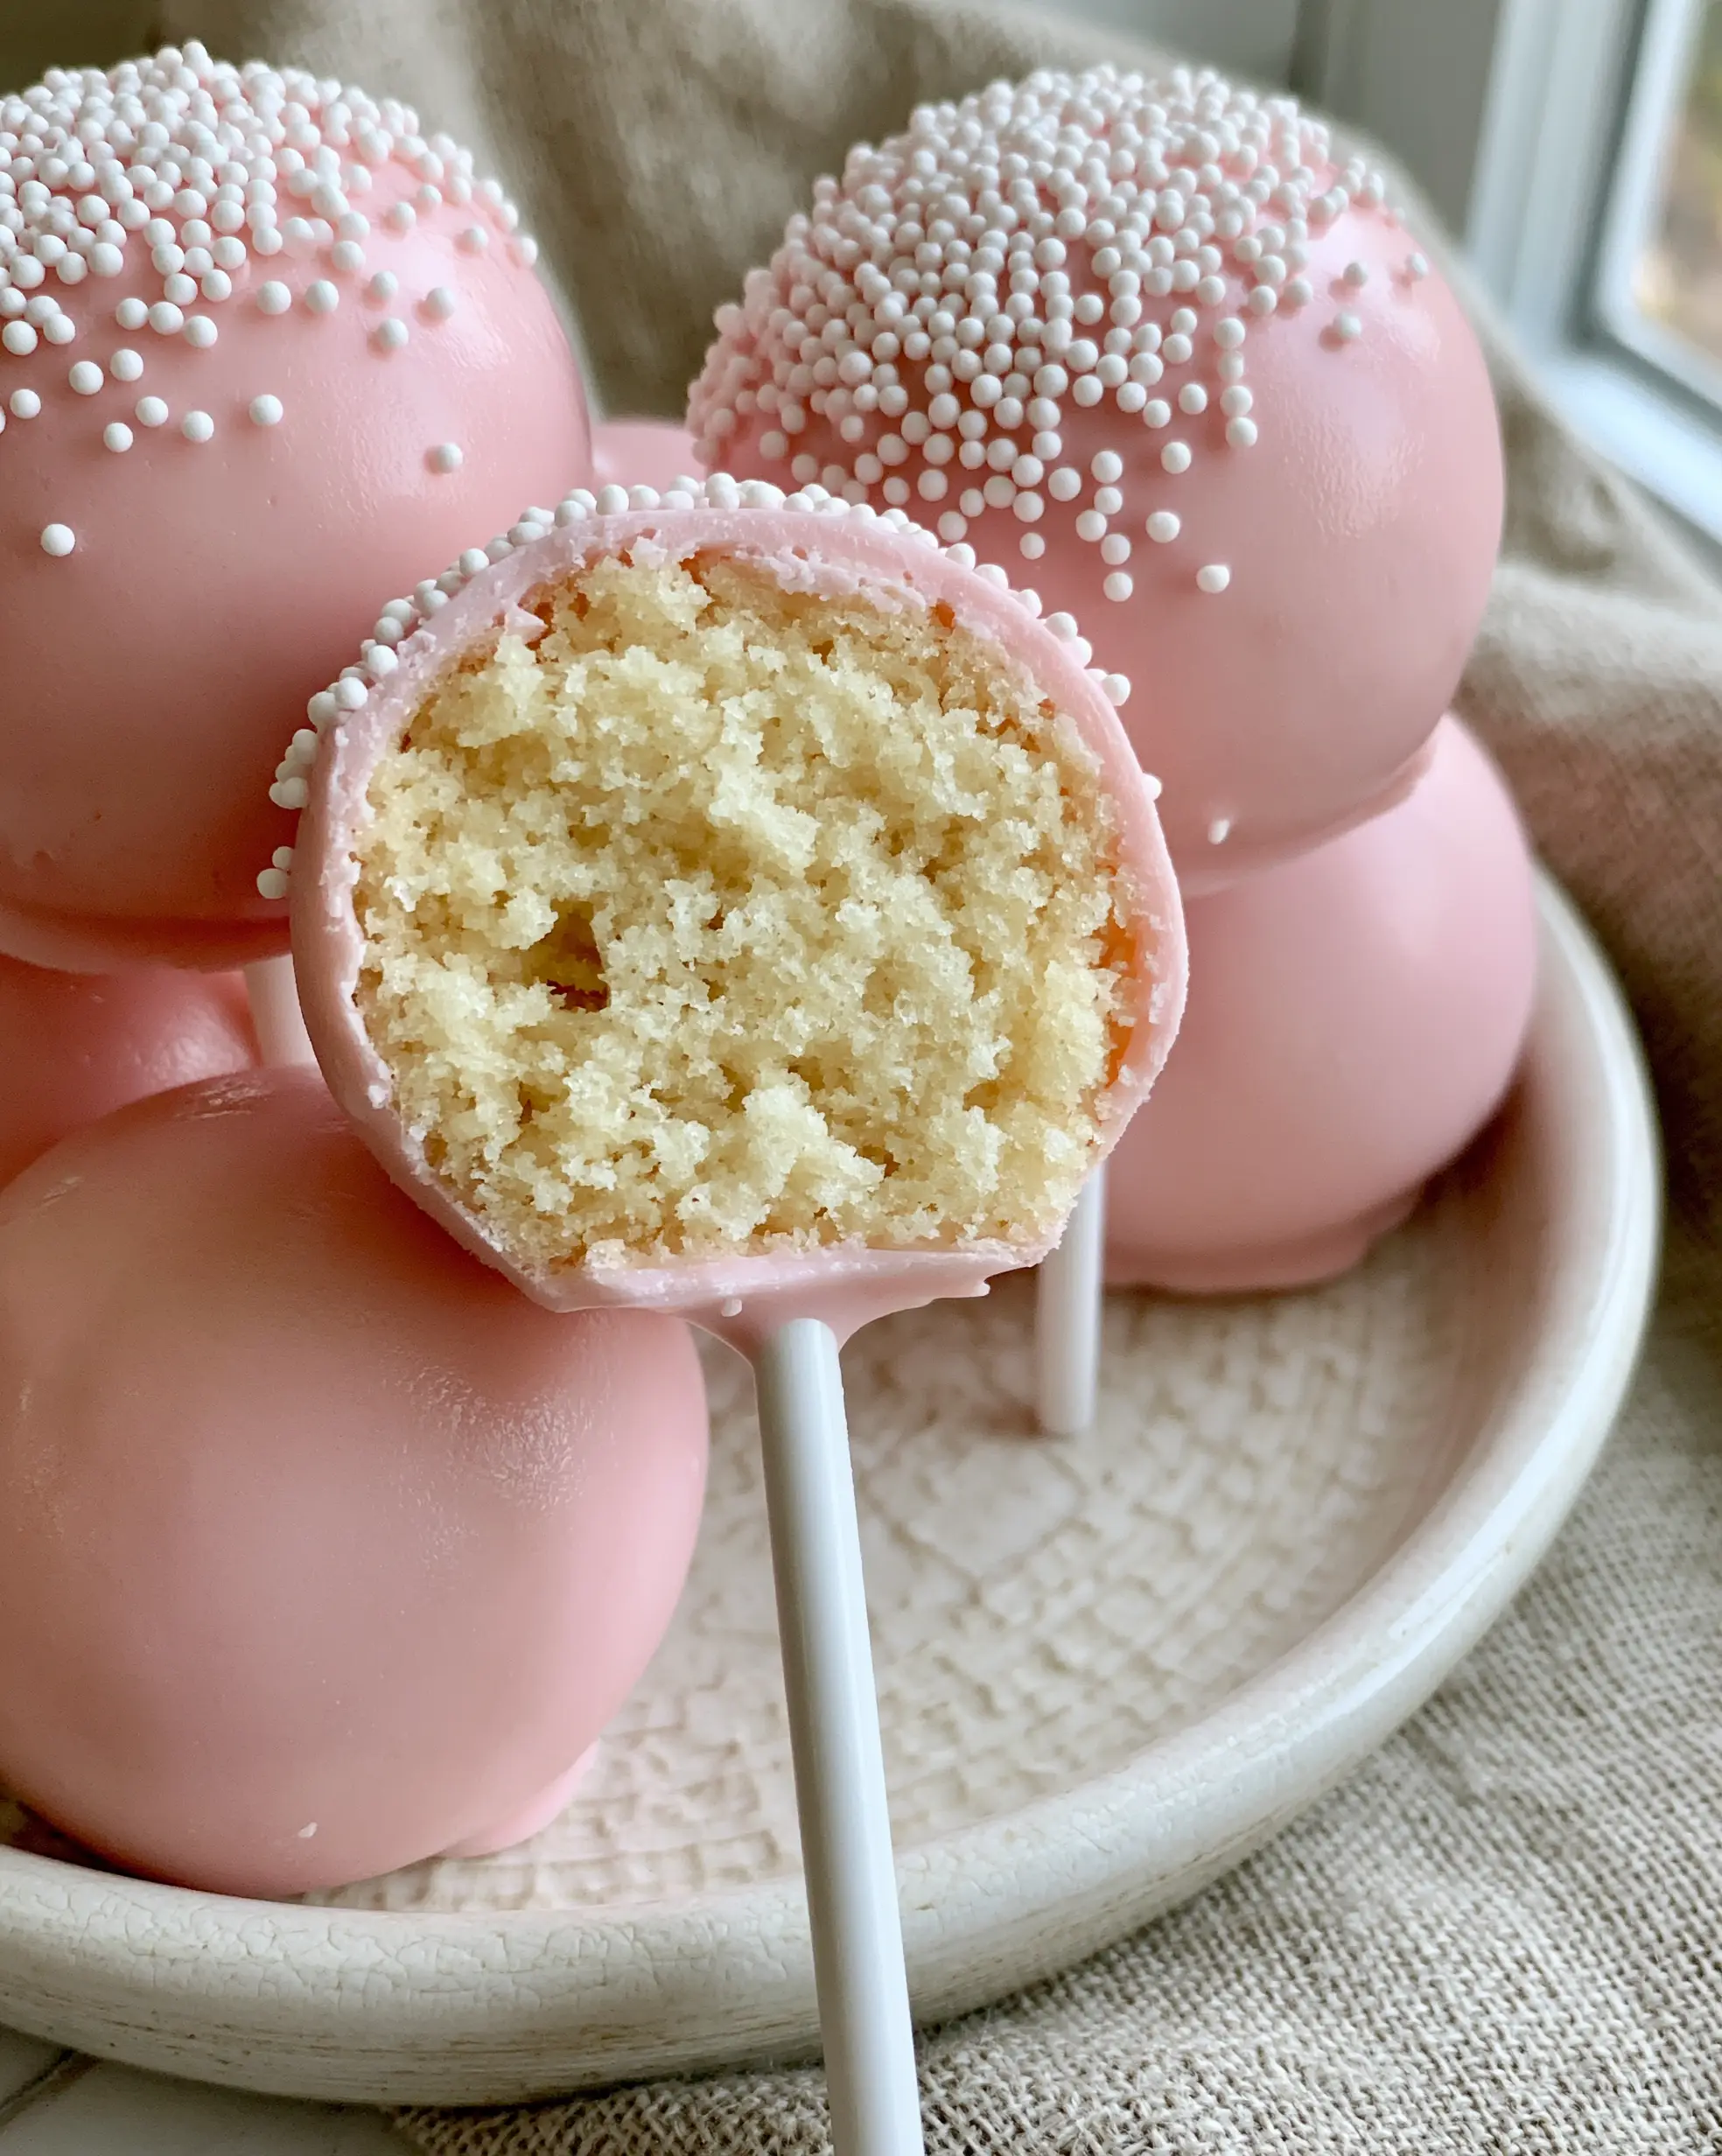
Cake Pop Recipes: The Ultimate Guide to Perfect Pink Copycat Treats
Ingredients
Equipment
Method
- Cream butter and sugar for 5 minutes until pale and fluffy. Add eggs one at a time, then vanilla.
- Alternately add dry ingredients and milk. Bake at 350°F (175°C) for 30-35 mins until a pale-yellow crumb is achieved.
- Remove cake crusts. Crumble the pale-yellow interior into fine sand. Mix with frosting until it reaches a Play-Doh consistency.
- Roll into 1.5-tbsp balls. Chill in freezer for 15 minutes to firm up.
- Melt pink candy melts with coconut oil in 30-second bursts until perfectly smooth and glossy.
- Dip stick tip in candy, insert into ball. Submerge the entire ball vertically, pull straight up, and tap wrist to remove excess. Top with nonpareils.
Notes
Use a deep cup rather than a bowl for a smoother coating finish.
Final Thoughts on Mastering Cake Pops
Creating professional cake pop recipes is an exercise in patience and precision. By focusing on the “dense vanilla cake crumb” and the “glossy thin coating,” you elevate a simple snack into a gourmet experience. The joy of these treats is in the details—the clean white sticks, the neat dusting of nonpareils, and that perfect “copycat” pink hue.
We would love to see your creations! If you found this guide helpful, please leave a comment below and share your results. For more visual inspiration and kitchen tips, be sure to follow us and save this recipe to Pinterest.