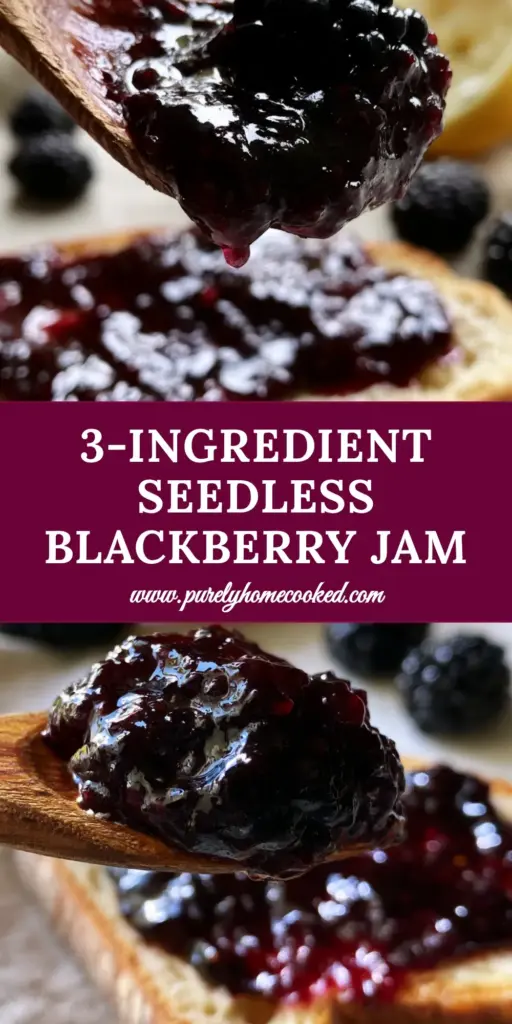
There is a specific, primal joy in witnessing a heavy, thick glob of deep obsidian-purple jam slide slowly off a rustic wooden spoon. This blackberry jam recipe isn’t just about preserving fruit; it is about capturing the essence of late summer in a jar, creating a viscous, seedless spread that glistens with a high-gloss sheen under the morning light. Whether you are layering it over a thick slice of toasted sourdough or using it to sweeten your morning routine, the texture is the true hero here—never runny, always jammy, and impossibly smooth.
To achieve the visual and textural perfection seen in high-end food photography, we move beyond simple boiling. We focus on the science of pectin, the clarity of the fruit, and the precise temperature required to reach that “glass-smooth” state. By the end of this guide, you will be able to produce a jam so reflective it catches sharp specular highlights, making every breakfast feel like a gourmet experience.
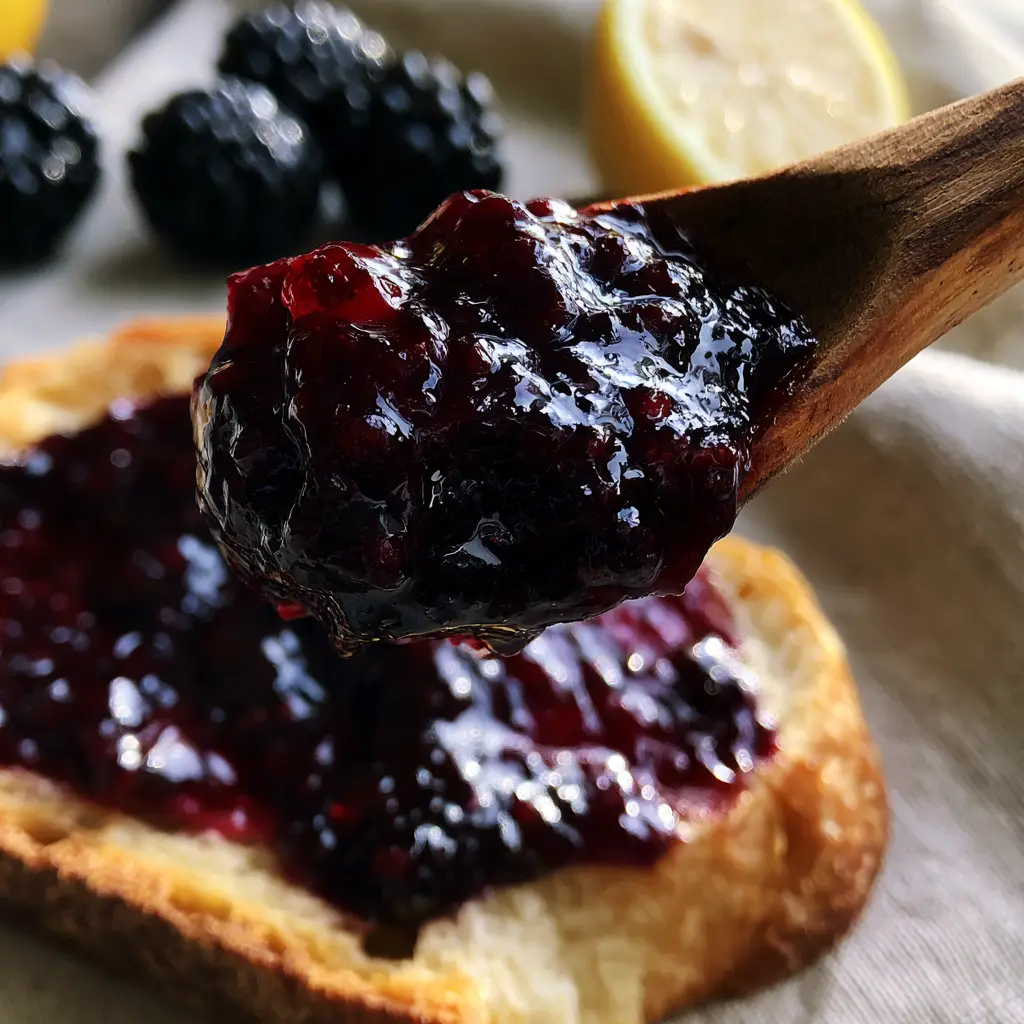
The Anatomy of a Perfect Seedless Blackberry Spread
What separates a standard preserve from an elite blackberry jam recipe is the absence of seeds and the presence of a mirror-like finish. To achieve this, we utilize a multi-stage extraction process. We start with plump, dewy blackberries and transform them into a concentrated nectar before introducing the sugar and acid required for a structural set.
- Viscous Texture: Achieving a “heavy glob” consistency requires reaching a precise internal temperature of 220°F (104°C).
- High-Gloss Sheen: The addition of fresh lemon juice doesn’t just balance the sweetness; it acts as a catalyst for the pectin to bond, creating that glistening surface.
- Deep Obsidian Color: Rapid boiling in a wide-bottomed pan prevents over-oxidation, keeping the purple dark and vibrant rather than dull and brown.
- Seedless Clarity: A fine-mesh sieve or food mill is non-negotiable for that glass-smooth mouthfeel.
Essential Components for Your Obsidian Blackberry Preserve
Every ingredient in this blackberry jam recipe serves a dual purpose: flavor profile and structural integrity. We do not use commercial pectin in this version, relying instead on the natural power of the fruit and the precision of your cook time.
Fresh Blackberries: You will need 2 lbs (907g) of ripe, plump blackberries. These provide the natural pectin and the deep pigment necessary for that obsidian hue.
Granulated Sugar: Use 3.5 cups (700g) of high-quality white sugar. Sugar is not just a sweetener; it is a preservative and the primary agent for creating the jam’s viscous, heavy body.
Fresh Lemon Juice: 3 tbsp (45ml) of freshly squeezed lemon juice is vital. The acid lowers the pH, allowing the pectin chains to mesh and creating the specular highlights we see on the jam’s surface.
Lemon Zest: The zest of half a lemon (approx. 1 tsp) adds aromatic complexity and extra natural pectin found in the pith. You may have noticed that half-cut lemon in our visual blueprint—this is why it’s there.
Filtered Water: 1/4 cup (60ml) of water is used during the initial breakdown of the berries to prevent scorching before the juices are fully released.
Unsalted Butter (Optional): 1/2 tsp (2.5g) of butter can be added to the boil. This “foundational invisible” ingredient breaks the surface tension and prevents foaming, ensuring the final product is glass-smooth without air bubbles.
The Tool Kit for Professional Preservation
To replicate the rustic yet refined look of our wooden spoon reveal, you need the right equipment. This isn’t just about utility; it’s about controlling the heat and the texture of the blackberry jam recipe.
A heavy-bottomed Dutch oven or a wide copper jam pot is essential for even heat distribution. A wide surface area allows moisture to evaporate quickly, which preserves the bright flavor and deep color. You will also need a fine-mesh stainless steel sieve to remove every single seed, ensuring the “seedless” requirement of our visual blueprint. Finally, a reliable digital candy thermometer is your best friend for hitting that 220°F (104°C) gel point accurately.
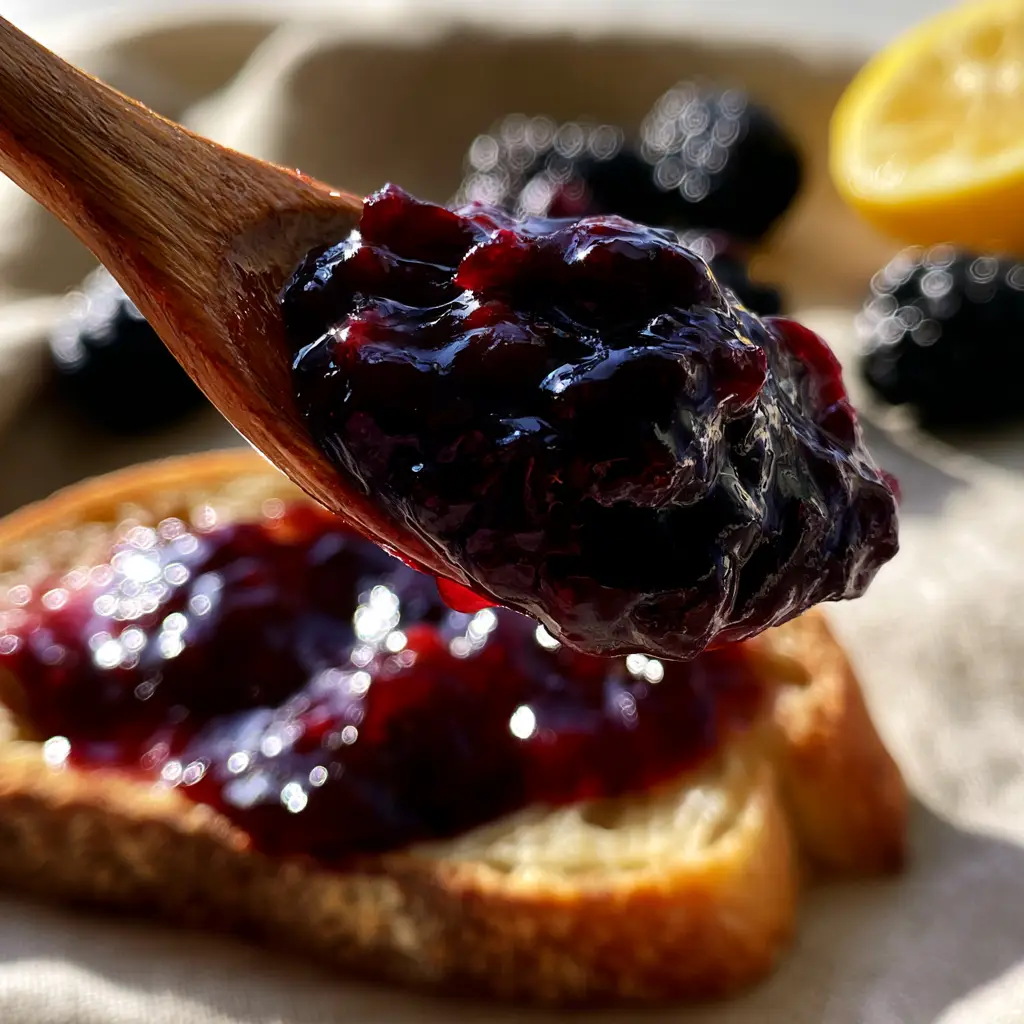
Step-by-Step: From Fresh Berries to Glistening Obsidian Jam
Extracting the Essence and Removing the Seeds
Begin by rinsing your 2 lbs (907g) of blackberries. Set aside a few whole, plump berries to serve as a garnish, as seen in our blueprint. In your large pot, combine the remaining blackberries with the 1/4 cup (60ml) of water.
Heat over medium-high, mashing the berries with a potato masher as they soften. Once the mixture reaches a simmer and the berries have completely broken down into a deep purple slurry, remove from heat. Pass this mixture through your fine-mesh sieve into a clean bowl. Use the back of a spoon to press every bit of pulp through, leaving only the dry seeds behind. This creates the “glass-smooth” base required for an elite blackberry jam recipe.
The Critical Boil and Reaching the Gel Point
Return the seedless blackberry puree to the pot and stir in the 3.5 cups (700g) of sugar, the 3 tbsp (45ml) of lemon juice, and the zest. If you want that crystal-clear, high-gloss finish, add the 1/2 tsp (2.5g) of butter now to prevent foam from forming.
Bring the mixture to a rolling boil—one that cannot be stirred down. Monitor your thermometer closely. You are looking for the “sheet test” or the “plate test.” As the jam nears 220°F (104°C), the bubbles will become smaller, tighter, and the mixture will take on a heavy, viscous appearance. When you lift your wooden spoon, the jam should hang in a thick glob rather than dripping off in thin droplets.
The Cooling and Setting Phase
Once the jam hits the gel point, remove it from the heat immediately. Skim any remaining stray bubbles from the surface with a metal spoon to maintain that obsidian clarity. Pour the hot jam into sterilized glass jars, leaving 1/4 inch of headspace. As the jam cools, the pectin structure will fully lock, turning the liquid into the thick, spreadable treasure that catches the light so beautifully.
Expert Tips for Success with This Blackberry Jam Recipe
- The Frozen Plate Test: Place a small saucer in the freezer before you start. Drop a spoonful of hot jam onto the cold plate; if it wrinkles when pushed with a finger, the set is perfect.
- Avoid Overcooking: If you boil the jam too long, the sugar will caramelize, turning your obsidian purple into a muddy brown and ruining the glistening sheen.
- Purity is Key: Ensure your sieve is ultra-fine. Even a few missed seeds will disrupt the “glass-smooth” texture we are aiming for.
- Altitude Adjustment: If you are at a high altitude, your gel point will be lower (usually 8-10 degrees above the boiling point of water at your location).
Strategic Pairings: What to Serve With Your Obsidian Jam
While this blackberry jam recipe is a star on its own, its rich, dark profile makes it the perfect companion for various dishes. The contrast of the deep purple jam against a light-colored base is visually stunning and culinarily balanced.
For a sophisticated breakfast, spread a generous, uneven layer of jam over thick toasted sourdough, just like in our visual prompt. If you’re looking for a more indulgent morning, this jam is spectacular when drizzled over a stack of fluffy pancakes or served alongside a savory morning shakshuka ritual to balance the spice. To cut through the richness of the jam, consider pairing your toast with a crisp, cold coffee frappe for a cafe-style experience at home.
Safe Storage and Long-Term Preservation
If you have followed proper canning procedures (a 10-minute water bath boil for the filled jars), this jam will remain shelf-stable for up to 12 months in a cool, dark place. However, for a “small batch” approach, you can simply store the jars in the refrigerator for up to 3 weeks.
Always check the seal before consuming. A properly set jam should not have any liquid separation. If you find the jam has become too thick over time, a very brief 10-second zap in the microwave will restore that viscous, glistening spoon-roll texture.
Frequently Asked Questions
Yes, this recipe relies on the natural pectin in the berries and the precise sugar-to-acid ratio combined with high-heat reduction to set.
While optional, removing the seeds using a fine-mesh sieve is required to achieve the glass-smooth, high-end texture seen in professional photography.
Adding a tiny amount of butter during the boil reduces surface foam, while the lemon juice ensures a tight pectin bond that reflects light.
Place a spoonful of hot jam on a frozen saucer. Let it sit for 30 seconds, then push it with your finger; if it wrinkles, the jam is ready.
Runny jam usually results from not reaching the 220°F (104°C) gel point or lacking enough acid (lemon juice) to activate the natural pectin.
The Ultimate Small-Batch Blackberry Jam Recipe
Blackberry Jam Recipe: Achieving the Perfect Deep Obsidian Glass-Smooth Finish
Ingredients
Equipment
Method
- Combine blackberries and water in a Dutch oven over medium-high heat. Mash with a potato masher until fruit is broken down and juices are released.
- Pass the hot pulp through a fine-mesh sieve into a bowl, pressing firmly to extract all juice and pulp while leaving seeds behind.
- Return the seedless puree to the pot. Stir in sugar, lemon juice, zest, and butter. Bring to a rapid rolling boil.
- Boil until the mixture reaches 220°F (104°C). The jam should be viscous and hang from a wooden spoon in a heavy, glistening glob.
- Skim any foam from the surface. Pour into sterilized jars, leaving 1/4 inch headspace. Let cool completely to set.
Notes
For the highest gloss, do not skip the small amount of butter as it eliminates air bubbles.
Transform Your Morning Toast into a Masterpiece
This blackberry jam recipe is more than a condiment; it’s a culinary trophy. The deep obsidian color, the glass-smooth texture, and the heavy, viscous set make it a sensory delight that stands out on any breakfast table. We invite you to try this technique and see the specular highlights for yourself! If you enjoyed this recipe, please leave a comment below and share your results with us. Don’t forget to follow purelyhomecooked on Pinterest for more visually-driven recipe inspiration and kitchen secrets.