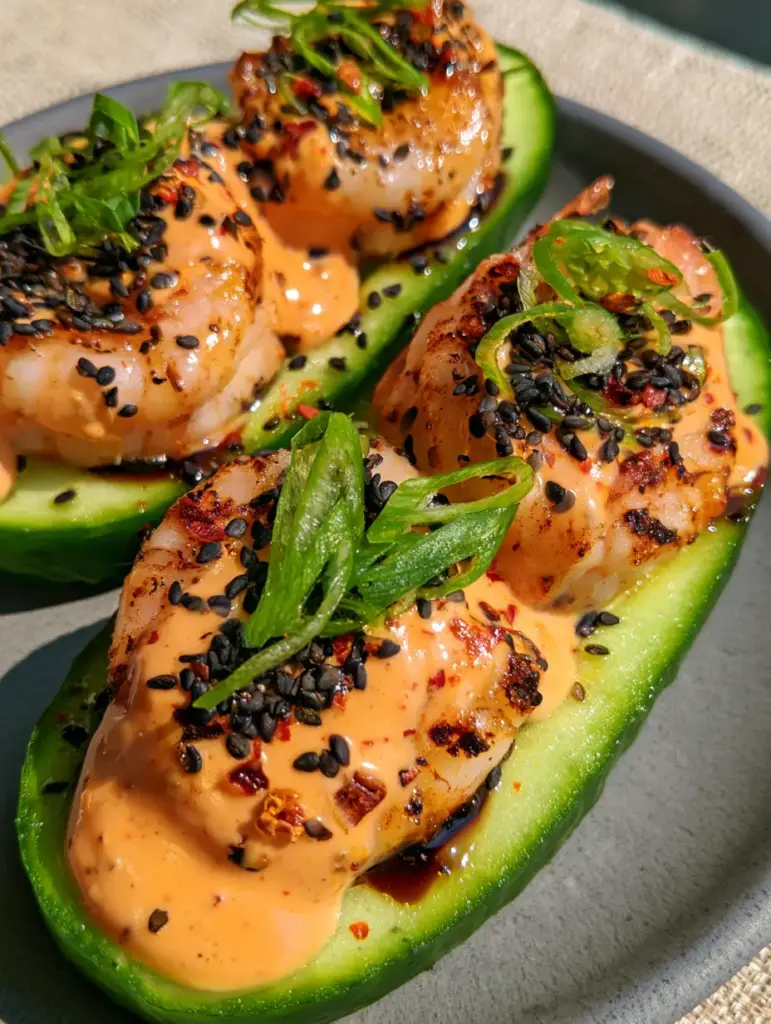
Imagine a handheld snack that delivers the satisfying crunch of a fresh garden vegetable paired with the decadent, buttery snap of perfectly seared seafood. These Spicy Shrimp Cucumber Sushi boats are the answer to your cravings for high-end sushi flavors without the heavy rice or the technical rolling skills required for traditional maki.
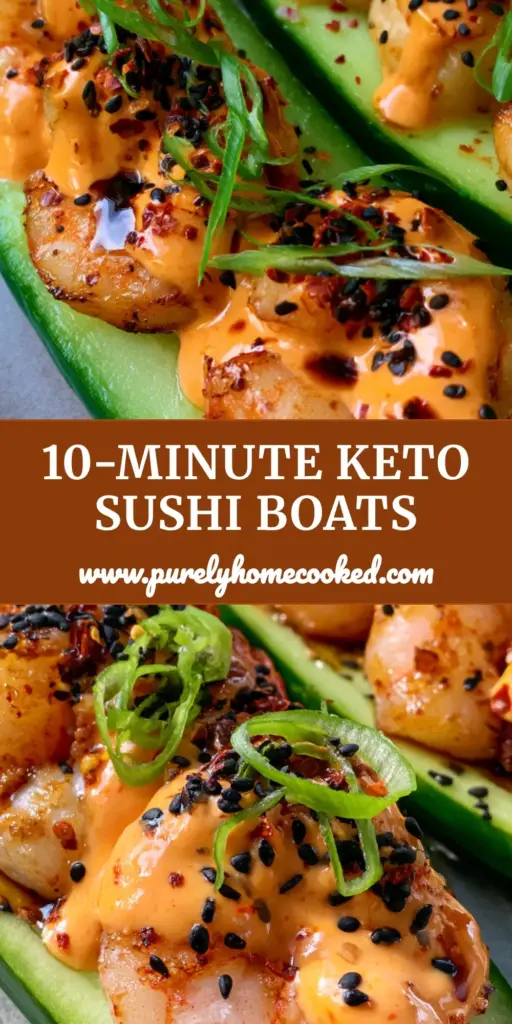
Captured in the soft natural daylight of a lazy afternoon, these vibrant green vessels sit beautifully on a matte stone plate, offering a contrast of textures that is as visually stunning as it is delicious. Whether you are hosting a sophisticated garden party or looking for a refreshing midweek lunch, this recipe brings a professional culinary aesthetic right to your kitchen counter.
By hollowing out crisp English cucumbers, we create the perfect foundation for jumbo shrimp that have been kissed by the flame until they achieve those coveted golden-brown, charred edges. The final drizzle of creamy, thick sriracha mayo and a deep, umami-rich soy glaze ensures every bite is a balanced explosion of heat, creaminess, and salt.
The Culinary Appeal of These Crisp Seafood Vessels
- Textural Harmony: The juxtaposition between the cold, watery crunch of the English cucumber and the warm, tender bite of pan-seared jumbo shrimp creates a multi-sensory experience.
- Visual Masterpiece: With a heavy dusting of toasted black sesame seeds and bright green scallions, these boats look like they were plucked straight from a high-end izakaya menu.
- Nutrient-Dense & Low-Carb: Replacing white rice with cucumber halves makes this a guilt-free option that doesn’t skimp on flavor or satiety.
- Flavor Complexity: The combination of the spicy sriracha mayo and the dark soy glaze provides a “sweet and heat” profile that is universally loved.
Essential Ingredients for the Perfect Sushi Boat Construction
English Cucumbers: Unlike standard field cucumbers, the English variety has a thinner skin and fewer seeds, making them the ideal sturdy yet edible vessel for our shrimp filling. Choose cucumbers that feel heavy for their size and have a vibrant, deep green color.
Jumbo Shrimp (16/20 Count): You want large, plump shrimp that can stand up to high-heat searing. Using jumbo shrimp ensures they don’t overcook before they achieve that beautiful golden-brown char seen in our visual guide.
Sriracha and Kewpie Mayonnaise: This duo creates that signature thick, glossy, creamy orange sauce. Kewpie mayo adds a specific egg-yolky richness that standard mayonnaise simply cannot replicate.
Dark Soy Glaze: Often sold as “Unagi sauce” or “Eel sauce,” this thick reduction provides the dark, syrupy umami notes that cut through the creaminess of the mayo. If you can’t find it, a honey and soy sauce reduction works in a pinch.
Neutral High-Smoke Point Oil: To get those charred edges on the shrimp without the oil smoking out your kitchen, use avocado oil or grapeseed oil. Avoid butter for the initial sear, as the milk solids will burn before the shrimp are done.
Toasted Black Sesame Seeds: These provide a nutty undertone and a striking visual contrast against the orange sauce. Always ensure they are toasted to release their full aromatic potential.
Fresh Scallions and Red Chili Flakes: Use only the bright green tops of the scallions, sliced ultra-thin. The red chili flakes provide a tiny pop of color and a secondary layer of lingering heat.
Professional Tools for Culinary Precision
Achieving the perfect “hollowed-out” look requires a small metal melon baller or a sturdy teaspoon. This allows you to remove the watery seeds without piercing the bottom of the cucumber boat.
A well-seasoned cast iron or carbon steel skillet is non-negotiable for the shrimp. These pans retain heat exceptionally well, ensuring the shrimp sear instantly upon contact, locking in juices while creating that charred crust.
Mastering the Sear: Step-by-Step Instructions
Preparing the Cucumber Foundations
Start by washing 2 large (approx. 300g each) English cucumbers and drying them thoroughly. Slice them in half lengthwise to create two long channels.
Using a spoon, gently scrape out the seed-filled center, leaving a 1/4-inch (6mm) wall of flesh around the edges. Slice each long half into three equal sections to create “boats” that are approximately 3-4 inches (8-10cm) long. Set them aside on a paper towel to drain any excess moisture.
Achieving the Perfect Shrimp Char
Pat 1 lb (454g) of jumbo shrimp completely dry with paper towels; moisture is the enemy of a good sear. Season them lightly with a pinch of sea salt and cracked black pepper.
Heat 1 tbsp (15ml) of avocado oil in your skillet over medium-high heat until the oil begins to shimmer. Place the shrimp in the pan in a single layer, ensuring they do not touch.
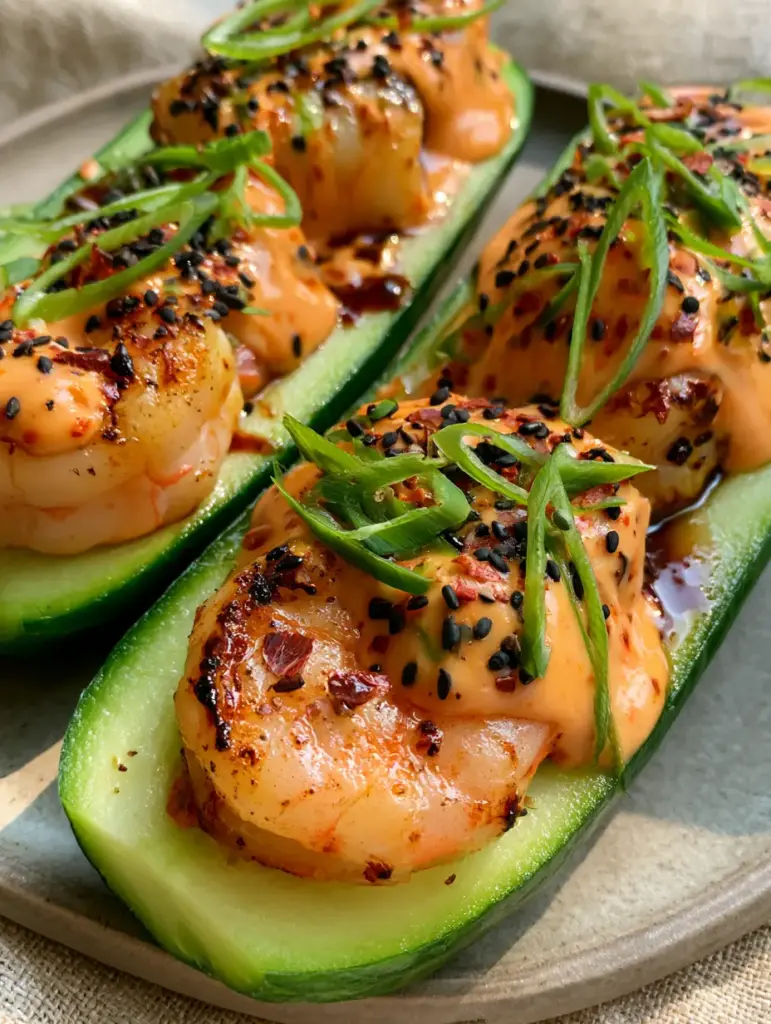
Cook for 2 minutes on the first side without moving them. You are looking for a deep pink color and the development of golden-brown edges. Flip and cook for another 60-90 seconds until opaque and slightly curled.
Whisking the Signature Orange Sauce
In a small bowl, combine 1/4 cup (60ml) of Kewpie mayo with 1 tbsp (15ml) of sriracha. Whisk vigorously until the sauce is a uniform, thick, creamy orange color.
If you prefer more heat, add an extra teaspoon of sriracha. The consistency should be thick enough to hold its shape when drizzled, rather than running off the shrimp immediately.
Assembly and Forensic Garnishing
Place three cucumber boats on a matte stone plate. Nestle two to three seared shrimp into the hollowed-out center of each boat, standing them slightly upright for height.
Using a spoon or a squeeze bottle, apply a generous drizzle of the orange sriracha mayo over the shrimp. Follow this with a few strategic drops of the dark soy glaze, allowing it to marble into the orange sauce.
Finish with a heavy dusting of toasted black sesame seeds, a handful of thinly sliced scallions, and a pinch of red chili flakes. The result should match the handheld smartphone photo aesthetic: fresh, authentic, and undeniably appetizing.
Expert Tips for Culinary Success
- Dry the Shrimp: If your shrimp are wet, they will steam rather than sear. You will lose the “slightly charred golden-brown edges” that make this dish visually appealing.
- Chill the Boats: For the best contrast, keep the hollowed-out cucumbers in the refrigerator until the exact moment you are ready to serve. The “cold boat, hot shrimp” dynamic is a hallmark of professional plating.
- Squeeze Bottle Precision: For those perfect highlights on the sauce as seen in natural daylight, use a plastic squeeze bottle to apply the mayo and soy glaze. It offers much more control than a spoon.
- The “Salt Rule”: Do not salt the cucumbers ahead of time. Salt draws out water, which will turn your crisp boats into a soggy mess within minutes.
Storage, Reheating, and Freshness Guidelines
The Spicy Shrimp Cucumber Sushi boats are best enjoyed immediately after assembly to maintain the crispness of the cucumber and the temperature of the shrimp. However, if you have leftovers, store the components separately.
Shrimp can be kept in an airtight container in the fridge for up to 2 days. To reheat, flash-sear them in a hot pan for 30 seconds; do not microwave, as this will make the shrimp rubbery. The hollowed cucumbers should be used within 24 hours, as they will begin to lose their structural integrity.
What to Serve With Your Sushi Boats
While these boats are a star on their own, they pair beautifully with other Asian-inspired dishes. For a fuller meal, try serving them alongside a bowl of savory shrimp fried rice or a light refreshing cucumber salad to double down on the garden-fresh flavors.
If you are looking for a variety of textures for a party platter, consider adding stuffed avocado halves or some crispy shrimp tostadas to the mix. For those nights when you just want a fun, easy-to-eat meal, these boats qualify as the ultimate crave-worthy snack that still feels healthy.
Frequently Asked Questions
You can prep the components (hollow the cucumbers and mix the sauce) up to 4 hours ahead. However, for the best texture, we recommend searing the shrimp and assembling the boats right before serving.
Yes, but they must be fully thawed and patted extremely dry. Frozen shrimp often release more moisture, so you may need to sear them in smaller batches to ensure they get that charred, golden-brown edge rather than boiling in their own juices.
The key is to not salt the cucumbers until the very last second, or skip salting them entirely. Also, pat the hollowed-out centers dry with a paper towel and keep them chilled until you are ready to fill them with the hot shrimp.
If you cannot find Unagi sauce, you can make a quick version by simmering 1/4 cup soy sauce with 2 tablespoons of brown sugar or honey until it thickens into a syrupy consistency.
A small metal melon baller is the professional’s choice for a clean, uniform channel. If you don’t have one, a sturdy teaspoon works perfectly—just be careful not to press too hard and break through the bottom of the boat.
The Complete Spicy Shrimp Cucumber Sushi boats Recipe
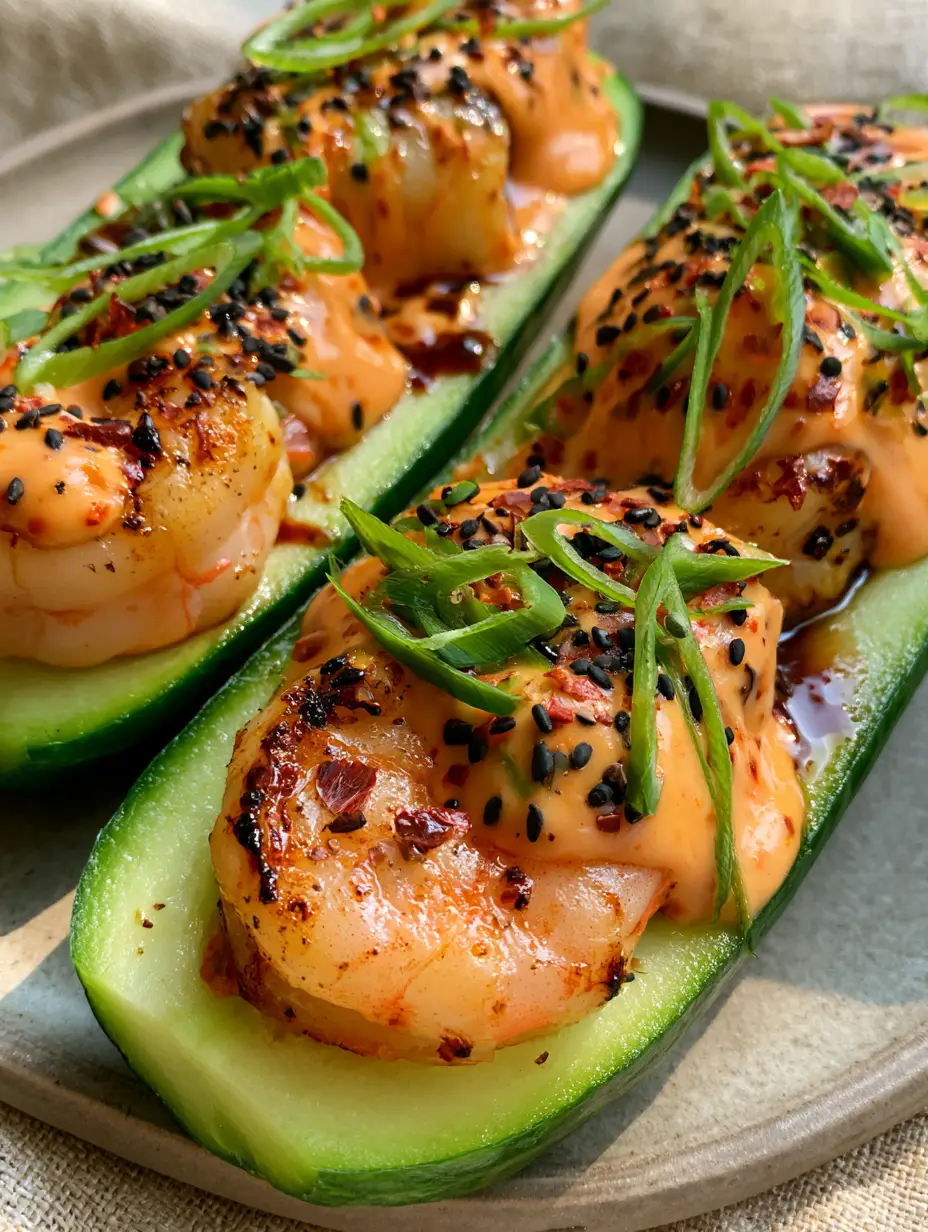
Spicy Shrimp Cucumber Sushi boats: The Ultimate Low-Carb Gourmet Appetizer
Ingredients
Equipment
Method
- Wash English cucumbers and slice in half lengthwise. Use a spoon to scrape out the seeds, then cut into 3-4 inch sections.
- Heat oil in a skillet over medium-high heat. Sear dried shrimp for 2 minutes on the first side until golden-brown charred edges appear. Flip and cook for 1 minute more.
- Whisk mayo and sriracha. Place shrimp in cucumber boats. Drizzle with sriracha mayo and soy glaze.
- Top with sesame seeds, sliced scallions, and chili flakes for color and crunch.
Notes
Keep cucumbers in the fridge until assembly to maintain their crisp snap.
Closing & Call to Action
These Spicy Shrimp Cucumber Sushi boats prove that you don’t need rice to enjoy the complex, umami-forward flavors of a sushi bar. The combination of the charred jumbo shrimp and the crisp English cucumber creates a snack that is both light and deeply satisfying. If you enjoyed this recipe, please leave a comment below and let us know how your sear turned out!
Don’t forget to follow us on Pinterest for more visually stunning and easy-to-follow recipes. Pin this to your “Healthy Appetizers” or “Low-Carb Dinners” board to save it for later!