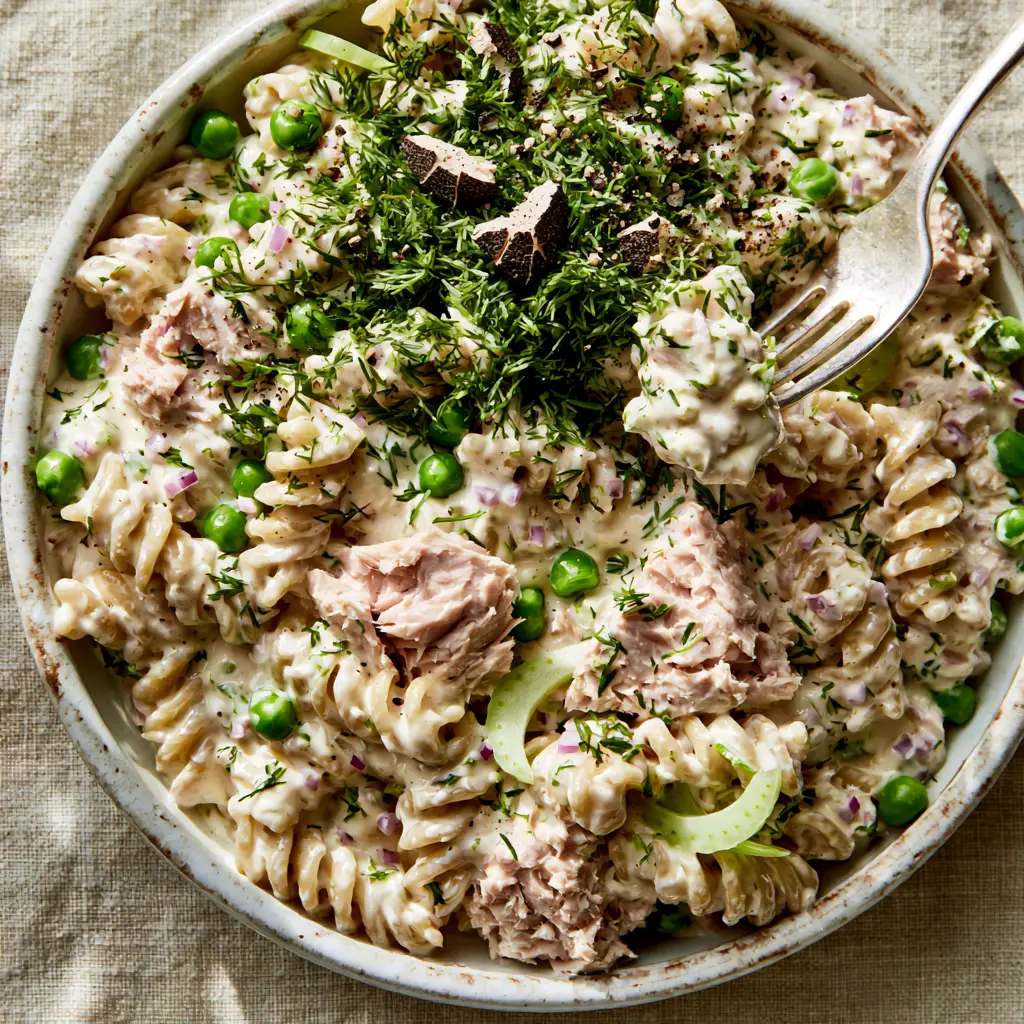
There is a specific nostalgia associated with a classic Tuna pasta salad, but this version elevates the deli-counter staple into a gourmet experience. We are moving away from watery, bland bowls and towards a dish defined by its thick, velvety ivory-colored dressing and vibrant, popping textures.
Imagine al dente rotini spirals perfectly engineered to catch a glossy, rich sauce that clings to every curve. This recipe focuses on high-contrast visuals—bright green garden peas against pale pink tuna flakes and the fine purple mist of minced red onion.
Whether you are prepping for a high-protein lunch or a weekend gathering, this Tuna pasta salad delivers a professional culinary result using simple, pantry-stable ingredients. It is a masterclass in balancing creamy fats with bright acids and herbaceous notes.
Why This Creamy Tuna Bowl Is a Total Game Changer
- The “Ivory” Standard: By blending high-quality mayonnaise with Greek yogurt, we achieve a thick, non-runny consistency that looks moist and rich on the plate.
- Textural Harmony: We pair the soft, chunky flakes of premium tuna with the snap of fresh celery crescents and the “pop” of bright green sweet peas.
- Aromatic Depth: Freshly chopped dill and large grains of cracked black pepper provide an earthy, pungent finish that cuts through the creaminess.
- Zesty Brightness: The addition of fresh lemon zest provides a floral citrus note that wakes up the savory notes of the canned fish.
Essential Components for the Ultimate Texture
To achieve the visual result seen in professional food photography, we must select ingredients that maintain their structural integrity when tossed. Here is what you will need for this Tuna pasta salad.
Dried Rotini Pasta (16 oz / 454g): The spiral shape is non-negotiable here. These “corkscrews” provide the maximum surface area for the ivory dressing to adhere to, ensuring no bite is left dry.
Canned Light Tuna (10 oz / 280g): Look for “chunk light” varieties packed in water. We want large, pale pink flakes rather than a mushy paste, as this provides the rustic, chunky look of the final dish.
Real Mayonnaise (1 cup / 240ml): This serves as the fatty, glossy base for our dressing. It provides the “velvety” mouthfeel described in the visual blueprint.
Plain Greek Yogurt (1/2 cup / 120ml): This is our secret weapon for a thick consistency. It adds a necessary tang while keeping the dressing from becoming too heavy or oily.
Sweet Green Peas (1 cup / 150g): Use frozen peas that have been thawed and patted dry. They provide those “bright green spheres” that make the dish visually pop.
Red Onion (1/4 cup / 40g): These must be finely diced into “tiny purple flecks.” This ensures the flavor is distributed evenly without overpowering the delicate dill.
Celery (2 stalks): Sliced into thin crescents, celery provides the essential “crisp light green” element. It is the architectural backbone of the salad’s crunch.
Fresh Dill Sprigs (3 tbsp / 10g): Freshness is key. Chopped dill adds a feathery texture and a cool, grassy flavor that pairs perfectly with seafood.
Lemon Zest and Juice (1 lemon): The zest adds aromatic oils, while 1 tbsp (15ml) of juice thins the dressing just enough to make it glossy without losing its “non-runny” nature.
Foundational Seasoning: You will need 1 tsp (6g) of kosher salt for the pasta water and 1/2 tsp (3g) of large-grain cracked black pepper for the final garnish.
Tools for a Professional Presentation
To get that macro-shot-ready look, you don’t need fancy gadgets, but a few specific tools help. A large stainless steel mixing bowl allows you to fold the ingredients without crushing the tuna.
A microplane is essential for achieving the fine lemon zest that disappears into the sauce while providing maximum flavor. Finally, a rustic white ceramic bowl serves as the perfect neutral backdrop to make the colors of the peas and onions stand out.
The Foolproof Method for Perfect Tuna Pasta Salad
Step 1: Achieving the Al Dente Spiral
Bring a large pot of heavily salted water to a rolling boil. Add the 16 oz (454g) of rotini and cook for 1 minute less than the package directions suggest.
Visual Cue: The pasta should be tender but still have a firm “bite” in the center. This prevents the spirals from falling apart when tossed with the heavy dressing.
Immediately drain the pasta and rinse under cold running water. This stops the cooking process and removes excess starch, ensuring your dressing stays glossy rather than becoming a gummy mess.
Step 2: Crafting the Signature Ivory Dressing
In a medium mixing bowl, whisk together the mayonnaise, Greek yogurt, lemon juice, and lemon zest. Continue whisking until the mixture is completely smooth and looks like liquid velvet.
Sensory Cue: The dressing should be thick enough to hold a soft peak. If it feels too thin, add another tablespoon of Greek yogurt to bolster the body.
Step 3: Prepping the Visual Accents
While the pasta drains, finely dice your red onion and thinly slice the celery into uniform crescents. Ensure your peas are completely dry; any residual moisture will dilute the dressing.
Gently flake the tuna using a fork. Aim for large, “chunky flakes” rather than shredding it into a mash. This preserves the pale pink color against the white cream sauce.
Step 4: The Art of the Fold
Place the cooled rotini in your large mixing bowl. Pour the ivory dressing over the pasta and toss until every spiral is heavily coated. Add the peas, celery, and red onion, folding gently.
Finally, add the tuna flakes and half of the chopped dill. Fold only 2-3 times. We want the tuna “nestled between the spirals,” not disintegrated into the sauce.
Step 5: The Final Garnish
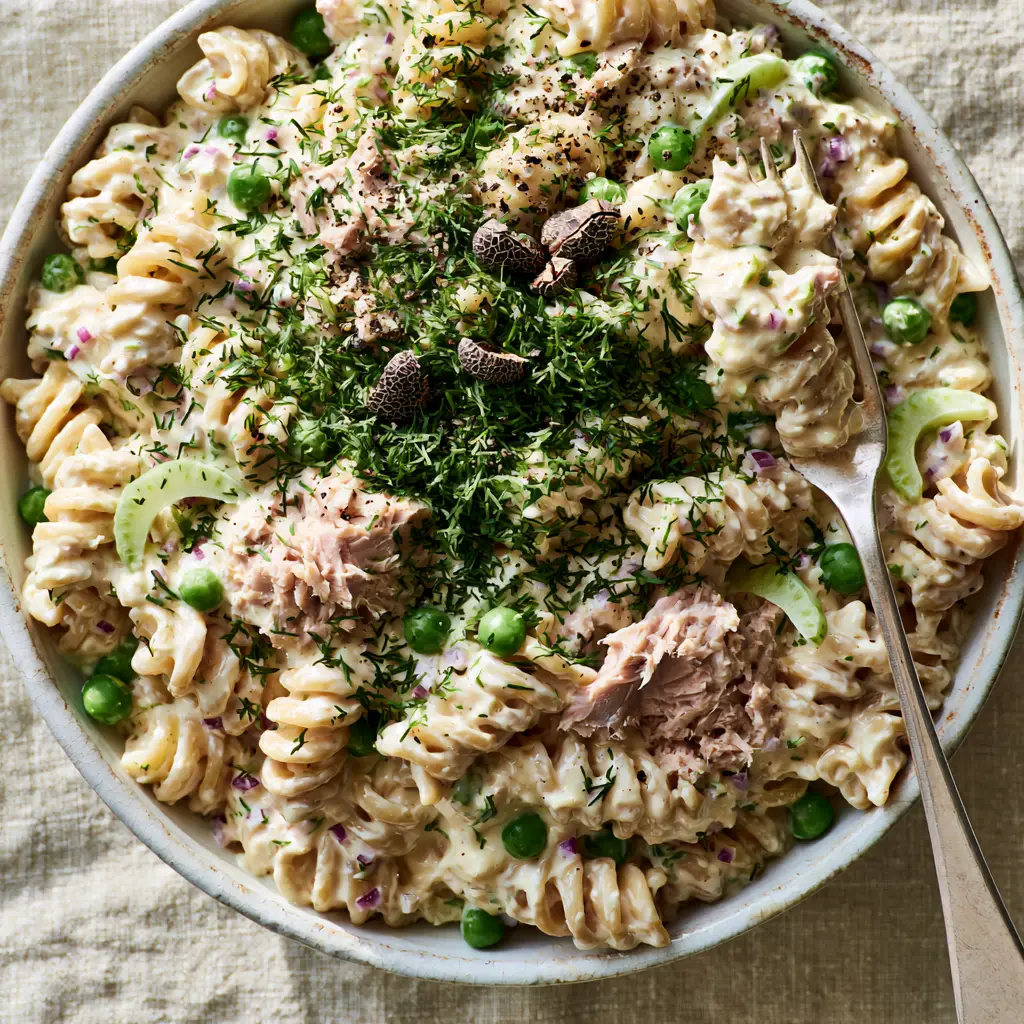
Transfer the mixture to a rustic white ceramic bowl. Top with the remaining fresh dill and a generous sprinkle of large-grain cracked black pepper. The pepper should look like distinct dark “grains” on the white sauce.
Expert Tips for Recipe Success
- Chill Before Serving: While this looks beautiful immediately, allowing it to sit in the fridge for 30 minutes lets the flavors meld. If the pasta absorbs too much sauce, stir in a teaspoon of milk to restore the gloss.
- Don’t Over-Mix: The difference between a “handheld smartphone photo” quality dish and a cafeteria mess is the size of the tuna chunks. Handle them like gold.
- Dry Your Add-ins: Wet celery or damp peas are the enemies of a thick, non-runny sauce. Use a paper towel to ensure everything is bone-dry.
- Season at the End: Pasta absorbs salt. Taste the final mix before adding the garnish to see if it needs an extra pinch of kosher salt.
How to Store Your Creamy Creation
This Tuna pasta salad stores beautifully in an airtight container for up to 3 days. It is a fantastic option for meal prep, much like our fresh salmon rice bowls.
We do not recommend freezing this dish. The mayonnaise and Greek yogurt emulsion will break upon thawing, resulting in a grainy texture that lacks the velvety ivory appeal of the fresh version.
Perfect Pairings for a Complete Meal
This salad is quite filling on its own, but it pairs wonderfully with a side of zesty dill pickle saltines for an extra salty crunch. If you are hosting a lunch spread, consider serving it alongside a warm cheesy tuna pasta bake to offer different temperatures of the same flavor profile.
For those looking for more seafood inspiration, this creamy bowl follows the same high-protein logic as our healthy canned tuna bowl (coming soon), making it a versatile addition to your weekly rotation.
Frequently Asked Questions
Yes! Simply thaw the frozen peas in a bowl of warm water for 5 minutes and pat them completely dry. Their texture is much better (firmer and brighter) than canned peas.
Yes, you can substitute the mayo entirely with Greek yogurt, but for the most authentic ‘ivory’ gloss and rich mouthfeel, we recommend the 2:1 ratio of mayo to yogurt used in this recipe.
The key is to cook the rotini to al dente (1 minute less than the box instructions) and rinse it immediately in cold water to stop the cooking process.
When stored in an airtight container, this salad remains fresh and delicious for up to 3 to 4 days.
Pasta naturally absorbs liquid as it sits. If your salad looks dry after refrigeration, simply stir in a tablespoon of milk or a tiny bit of extra yogurt to loosen the dressing and restore the glossy finish.
The Ultimate Creamy Tuna Pasta Salad Recipe
Tuna pasta salad with Ultra-Creamy Dill Dressing and Garden Peas
Ingredients
Equipment
Method
- Boil rotini in salted water for 1 minute less than package directions. Drain and rinse with cold water until chilled.
- In a medium bowl, whisk mayonnaise, Greek yogurt, lemon juice, and zest until a thick ivory-colored sauce forms.
- In a large bowl, toss the pasta with the dressing until heavily coated. Fold in peas, celery, and red onion.
- Gently fold in the flaked tuna and half the dill, keeping the tuna in large, chunky flakes.
- Top with remaining dill and cracked black pepper before serving in a rustic bowl.
Notes
Keep tuna chunks large to maintain professional visual appeal.
Join Our Community of Home Cooks
We hope this Tuna pasta salad becomes a staple in your kitchen! The combination of thick, glossy dressing and fresh garden peas is truly unbeatable for a quick and satisfying meal.
If you made this recipe, we would love to hear from you. Leave a comment below or share your photos on Pinterest! Be sure to follow us at purelyhomecooked for more daily recipe inspiration.