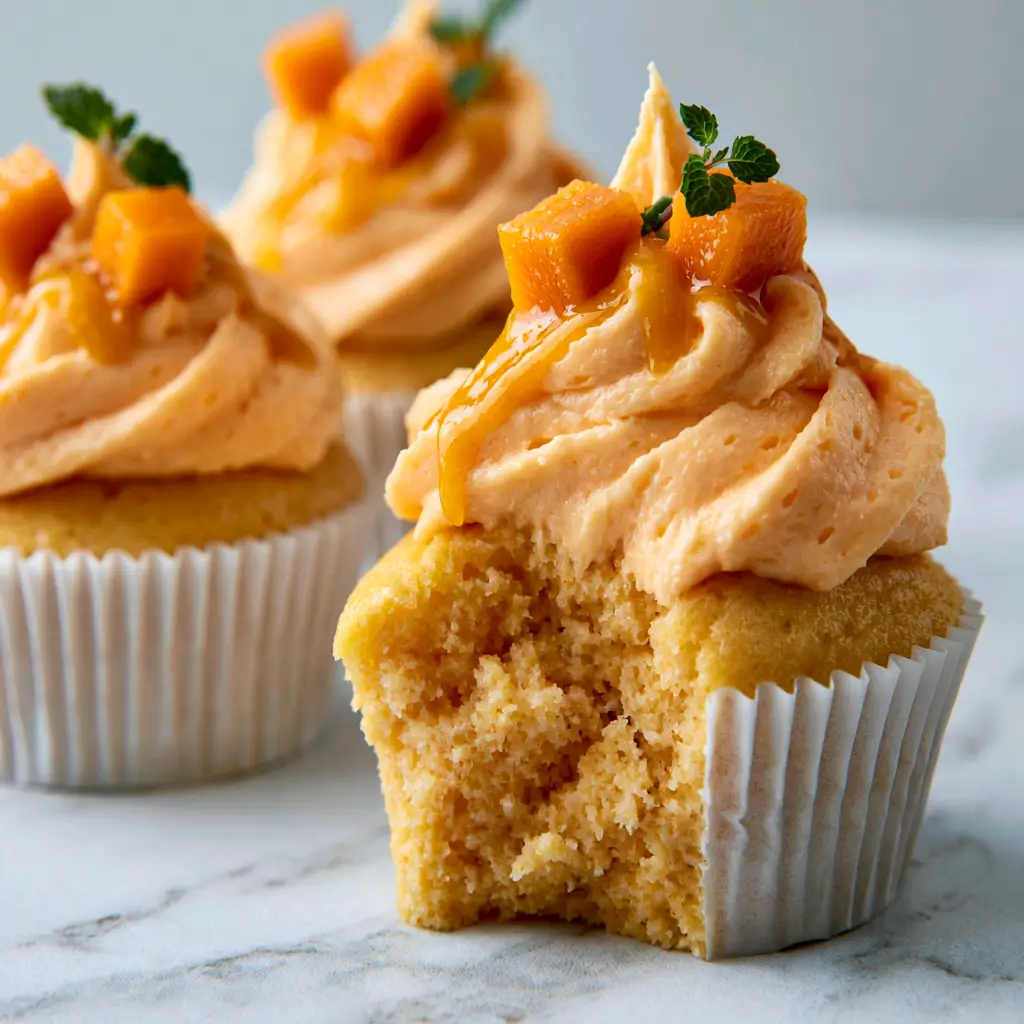
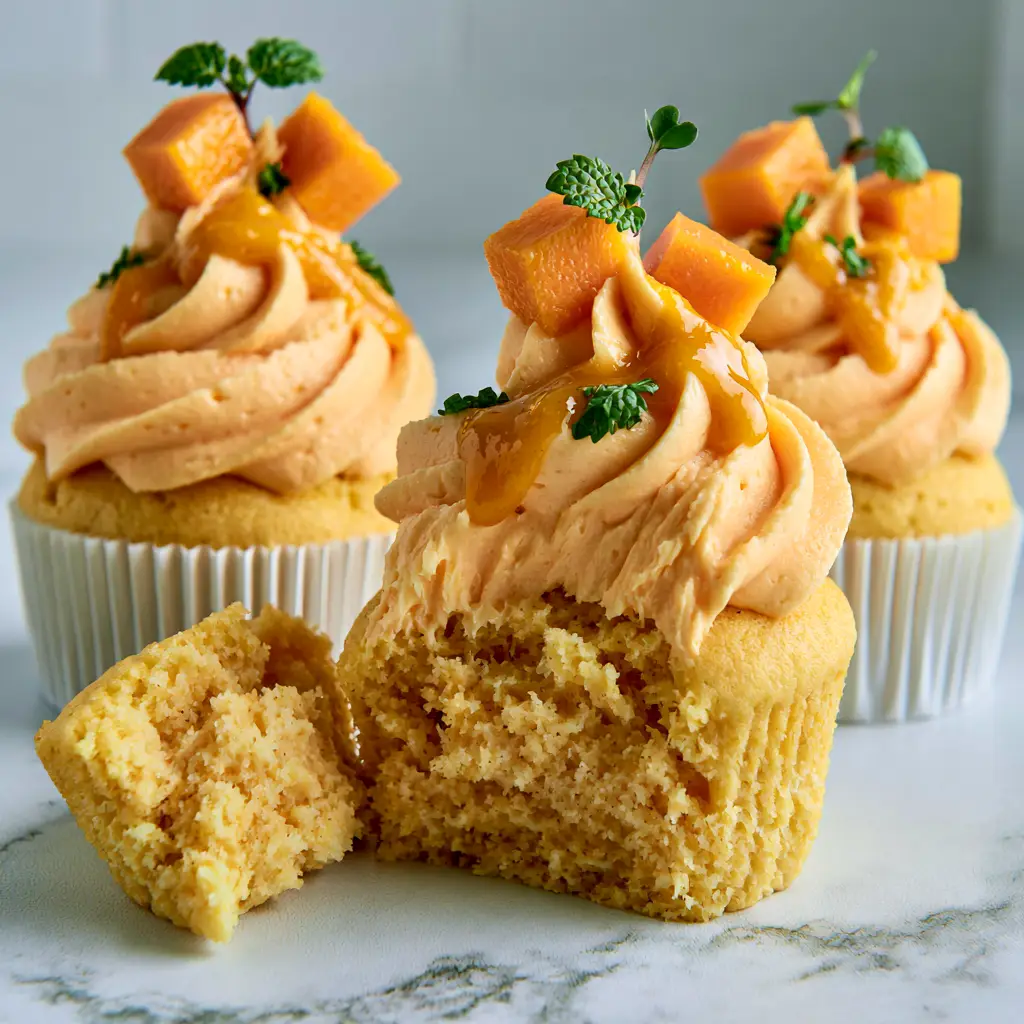
There is a specific kind of magic found in the perfect vintage-style cupcake. It isn’t just about the flavor; it is about the “coquette” aesthetic—that delicate, handheld masterpiece that looks like it belongs on a scalloped ceramic plate in a sun-drenched Parisian bakery. These cupcakes are the pinnacle of romantic baking, featuring a crumb so tender it melts on your tongue and a towering crown of glossy buttercream.
When you hold one of these cupcakes, you’ll immediately notice the weight of the high-quality Madagascar vanilla and the structural integrity of the intricately piped ruffles. The visual contrast between the pale pink and cream frosting swags, topped with a bright, glossy maraschino cherry, creates a nostalgic centerpiece that is almost too beautiful to eat. Almost.
Whether you are hosting a bridal shower or simply want to elevate your weekend baking, this guide will walk you through the culinary science of achieving that signature moist vanilla base and the “drop string” piping techniques required for a professional finish. Just like our fluffy pancake recipe, the secret lies in the temperature of your dairy and the precision of your aeration.
Why This Vintage Coquette Recipe Works
- The Ultra-Moist Crumb: We utilize the reverse-creaming method to ensure a tight, velvety crumb that supports heavy buttercream without becoming dense.
- Glossy Buttercream Stability: A specific ratio of butter to powdered sugar ensures the ruffles hold their shape in natural light without losing that “glossy” sheen.
- Two-Tone Visual Depth: By combining cream and pale pink frosting in elegant swags, we create a 3D texture that mimics vintage fabric ruffles.
- The Iconic Topper: A stem-on maraschino cherry provides the essential color pop and nostalgic “vintage” finish.
Essential Ingredients for the Perfect Vanilla Base
Cake Flour (300g / 2.5 cups): Cake flour has a lower protein content than all-purpose flour. This is non-negotiable for achieving the “moist vanilla cake base” described in our visual blueprint, as it prevents excess gluten development.
Unsalted European-Style Butter (225g / 1 cup): High-fat butter (at least 82% butterfat) provides the richness and “glossy” mouthfeel necessary for both the cake and the frosting. Ensure it is softened to exactly 65°F (18°C) for optimal aeration.
Whole Milk (240ml / 1 cup): We use room-temperature whole milk to provide the liquid base. For a variation in your savory baking, you might see similar dairy ratios in a zucchini casserole, but here, it serves to hydrate our starches.
Large Egg Whites (4 total): By using only whites, we keep the cake base pale and light, allowing the pastel pink paper liners to truly pop visually. This is a technique often used in high-end wedding cakes.
Pure Madagascar Vanilla Bean Paste (2 tsp / 10ml): The “cream-colored” elements of our design benefit from the tiny black specks of real vanilla bean, signaling to your guests that this is a gourmet treat.
Maraschino Cherries with Stems: These must be patted bone-dry before placement. The stem adds a delicate, vertical element that draws the eye upward to the “peak” of the frosting tower.
Tools Required for Intricate Piping
To achieve the “elegant swags and drop strings” mentioned in the Midjourney prompt, you will need a few specialized tools. First, a standard 12-cup muffin tin lined with ruffled pastel pink paper liners is essential for the base shape.
For the frosting, you will need two piping bags fitted with a #104 petal tip (for the ruffles) and a small #2 round tip (for the drop strings). A rotating cake turntable is also highly recommended to keep your swags fluid and consistent as you work around the circumference of the cupcake.
Mastering the Moist Vanilla Cake Base
Step 1: The Reverse Creaming Technique
Preheat your oven to 350°F (175°C). In a stand mixer, combine your cake flour, sugar, baking powder, and salt. Add the softened butter one tablespoon at a time while the mixer is on low. You are looking for a “sandy” texture where every grain of flour is coated in fat, which inhibits gluten and guarantees a moist result.
Step 2: Emulsifying the Liquids
Whisk together your egg whites, milk, and vanilla paste. Slowly pour half of this mixture into the dry ingredients and beat on medium-high for 90 seconds. This builds the structure of the cupcakes. Add the remaining liquid in two batches, scraping the bowl to ensure no streaks remain.
Step 3: The Gentle Bake
Fill your ruffled pastel pink liners about 2/3 full. Bake for 18-22 minutes. You’ll know they are ready when the tops spring back gently and they emit a warm, sugary aroma. If you enjoy precision baking, this is as satisfying as assembling a zucchini spinach feta casserole. Let them cool completely before frosting.
Architecting the Towering Buttercream Ruffles
Creating the Glossy Pink and Cream Tones
Whip your butter for 5 full minutes until it is nearly white. Add your powdered sugar and a touch of heavy cream. Separate the frosting into two bowls. Leave one “cream-colored” and tint the other with a single drop of pink gel food coloring to achieve that “pale pink” look from our visual guide.
Piping the Elegant Swags
Hold the #104 petal tip with the wide end touching the cake and the narrow end facing out. Move your hand in a small “U” motion while rotating the cupcake to create the first layer of ruffles. Switch colors and repeat the process, slightly overlapping the previous layer to create a “towering” effect.
The Final Flourish: Drop Strings and Cherries
Using the #2 round tip, pipe delicate “strings” of frosting that drape from one ruffle peak to the next. This “coquette” style requires a steady hand and “cold” frosting for the best tension. Finally, place a dry maraschino cherry with its delicate stem pointing upward on the very top peak.
Expert Tips for Bakery-Quality Results
- Room Temperature is Key: Ensure your eggs and milk are not cold. Cold ingredients will cause the batter to “split,” resulting in a coarse texture rather than a moist one.
- Sift Your Sugar: For “glossy” frosting without lumps, sift your powdered sugar twice. This is the difference between amateur and professional cupcakes.
- The Cherry Secret: To prevent the red juice from bleeding into your pale pink buttercream, pat the cherries with paper towels and let them sit for 10 minutes before garnishing.
- Avoid Overbaking: Check the cupcakes at the 18-minute mark. A moist cake base should have a few moist crumbs clinging to a toothpick.
Storage and Freshness Guidelines
These cupcakes are best enjoyed the day they are made, especially to maintain the “glossy” finish of the buttercream. However, they can be stored in an airtight container at room temperature for up to 2 days. If you must refrigerate them due to heat, allow them to come to room temperature for at least 1 hour before serving so the butter in the frosting softens.
Do not freeze the cupcakes with the maraschino cherries attached, as the thawing process will cause the cherry juice to run. If you are prepping ahead for a party, like you might for a SpongeBob birthday cake, freeze the unfrosted bases and frost them fresh.
What to Serve With Vintage Cupcakes
Since these cupcakes are rich and sweet, they pair beautifully with a light, acidic contrast. A crisp cucumber salad, much like our cucumbers and onions in vinegar, provides a refreshing palate cleanser between bites of dense buttercream.
For a full afternoon tea spread, consider serving these alongside savory options like sheet pan asparagus or mini sandwiches. The “airy aesthetic” of the cupcakes complements a table filled with fresh greens and light ceramic platters.
Frequently Asked Questions
You can, but the texture will be slightly tougher. To mimic cake flour, remove 2 tablespoons of all-purpose flour per cup and replace it with 2 tablespoons of cornstarch.
Whip the butter for a full 5 minutes before adding sugar, and add a tablespoon of heavy cream at the end. Avoid using shortening, which creates a more matte finish.
Use a small round tip and maintain steady pressure. Let gravity do the work to ‘drop’ the string before attaching the end to the next ruffle point.
Always rinse your cherries and pat them extremely dry with paper towels. Let them sit on a dry towel for 10 minutes before placing them on the ‘peak’ of your frosting.
Dryness usually comes from over-measuring flour or over-baking. Use a kitchen scale for the 300g of cake flour and check for doneness 2 minutes before the timer ends.
The Ultimate Vintage Coquette Cupcake Recipe
Cupcakes with Vintage Vanilla Buttercream Ruffles and Maraschino Cherries
Ingredients
Equipment
Method
- Preheat oven to 350°F (175°C). Whisk cake flour, sugar, baking powder, and salt in a stand mixer.
- Add softened butter to dry ingredients; mix on low until the texture resembles wet sand.
- Whisk milk, egg whites, and vanilla. Add half to the mixer and beat for 90 seconds. Add the rest and mix until smooth.
- Fill pink ruffled liners 2/3 full and bake for 18-22 minutes until golden and springy.
- Whip butter for 5 minutes, add sugar and cream. Tint half pale pink.
- Use a #104 tip to pipe overlapping ruffles around the cupcake, alternating pink and cream colors.
- Pipe drop strings with a #2 tip and top with a dried maraschino cherry with the stem intact.
Notes
Use room temperature ingredients for the smoothest batter emulsion.
Closing & Call to Action
Mastering these vintage cupcakes is a rite of passage for any home baker looking to blend culinary science with artistic flair. The combination of the moist vanilla base and the intricate “coquette” ruffles creates a sensory experience that is truly unforgettable. If you enjoyed this recipe, please leave a comment below and share your creations with us on Pinterest! Don’t forget to sign up for our newsletter for more bakery-style secrets delivered straight to your inbox.